How to Upscale an Image Online for Free (AI, Up to 4×)
A small picture stretched to a bigger size looks soft and blocky. An AI upscaler works differently: it redraws edges and textures while it enlarges, so the result looks cleaner. The ToolTiny Image Upscaler does this inside your browser, so your photo is not sent anywhere. This guide follows a real recording: a 147 KB photo of 563×449 pixels enlarged 2.8× to 1576×1257 pixels in 14.2 seconds, with every screen you will see on the way.
When Do You Need to Upscale a Picture?
- Small or old photos: a picture from an old phone or a website is too small for a screen or a print.
- Profile and product pictures: a form or a shop asks for a minimum width, and your image is below it.
- Presentations and documents: a logo or screenshot looks blurry when it is stretched to fill a slide.
- Printing: more pixels give the printer more to work with.
Upscaling or Just Resizing?
| Resize | AI upscale | |
|---|---|---|
| What it does | Stretches the existing pixels | Enhances edges and textures while enlarging |
| Look when enlarged | Soft or blocky | Cleaner and sharper |
| Speed | Instant | Seconds, depending on your device |
| Where to do it | Image Crop & Resize | Image Upscaler |
The upscaler cannot invent details that were never in the picture. It makes what is there look better at a larger size.
Watch the Whole Process
The recording opens the tool from the menu, loads a photo, tries the 2× and 4× presets and a custom 2.8× scale, enlarges the picture and saves it.
How to Upscale an Image, Step by Step
-
Open Image Upscaler
Open the Images menu in the top bar and choose Image Upscaler, or go straight to tooltiny.com/image-upscaler.html.
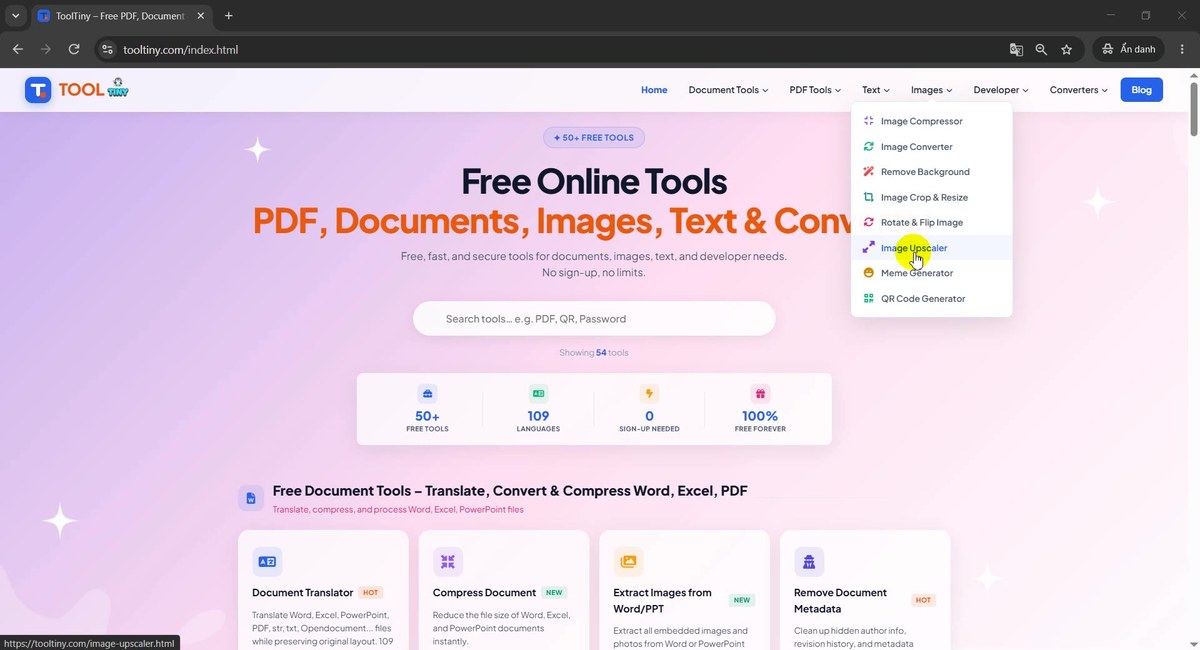
Images → Image Upscaler -
Find the drop box
The page shows a Drop your image here box with the note “JPG · PNG · WebP · Max 16MB · up to 2 MP”. The Select an image to upscale button below it stays grey until a picture is loaded.
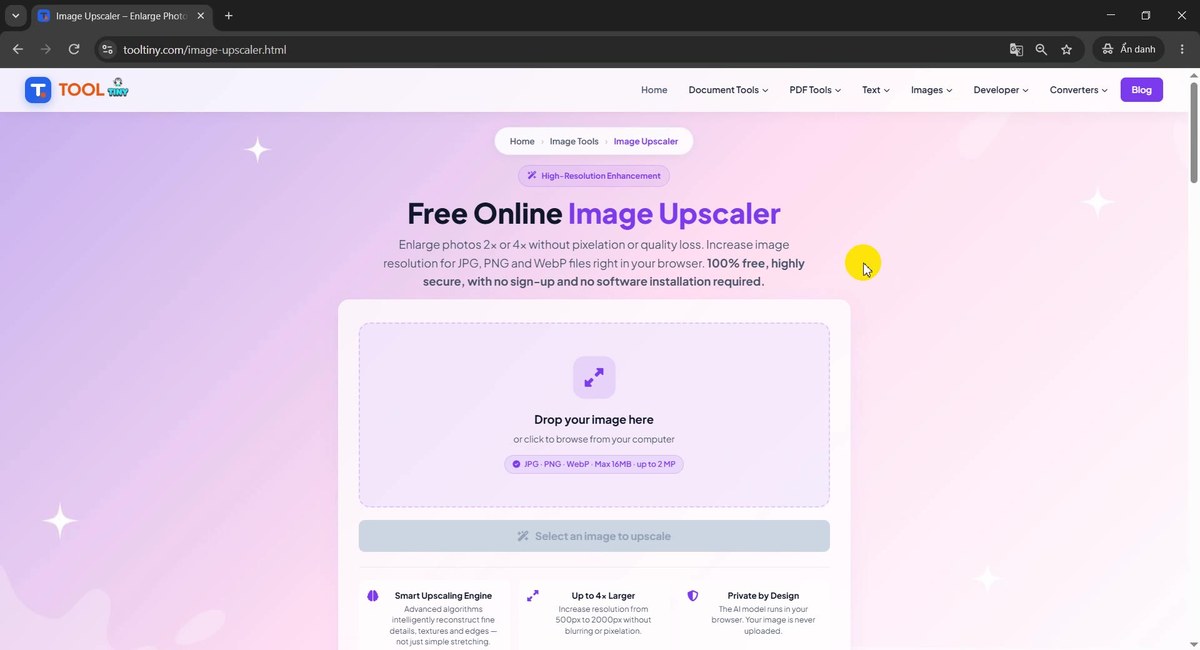
Drop a picture or click the box -
Choose a photo
Click the box and select your picture in the file window, then press Open. We used a 147 KB JPG of a lake with purple flowers at sunset.
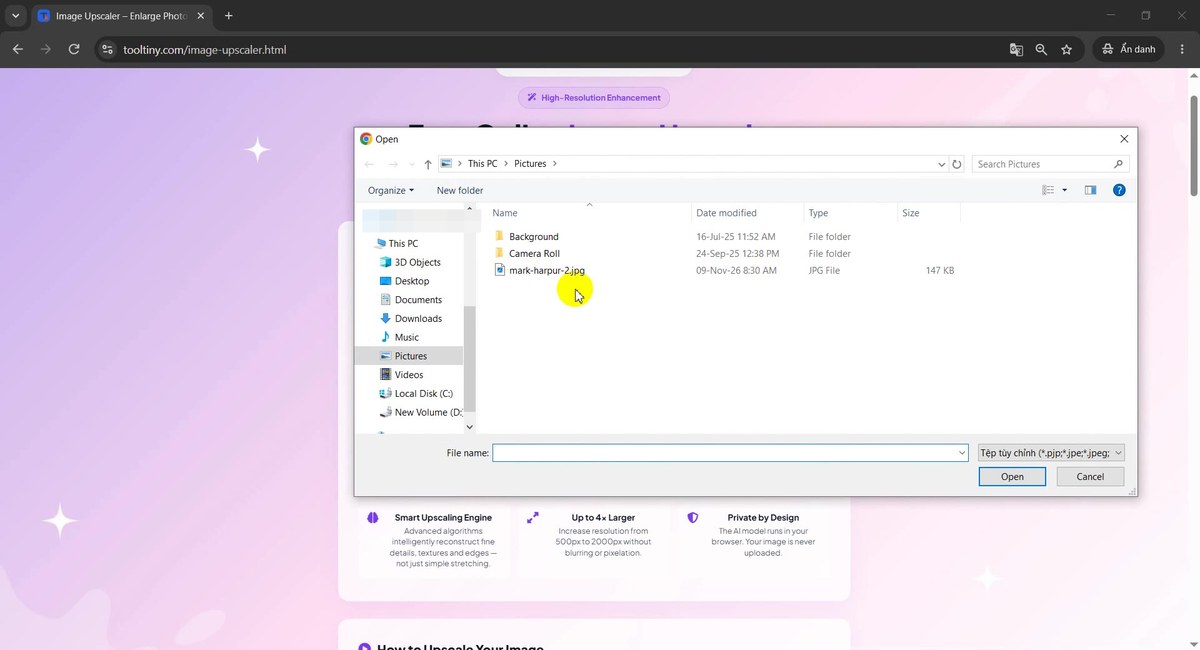
Select one image -
Check the preview
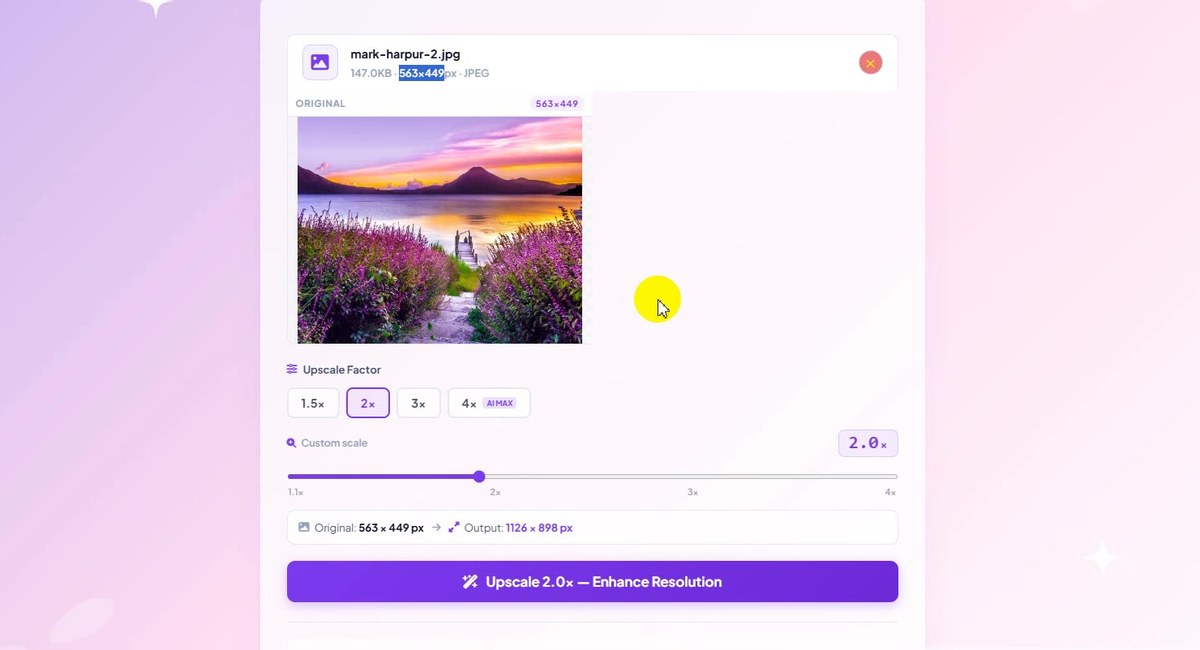
The file name and details appear at the top: 147.0KB · 563×449px · JPEG. Under it is the Original preview with its size, and the Upscale Factor options below.
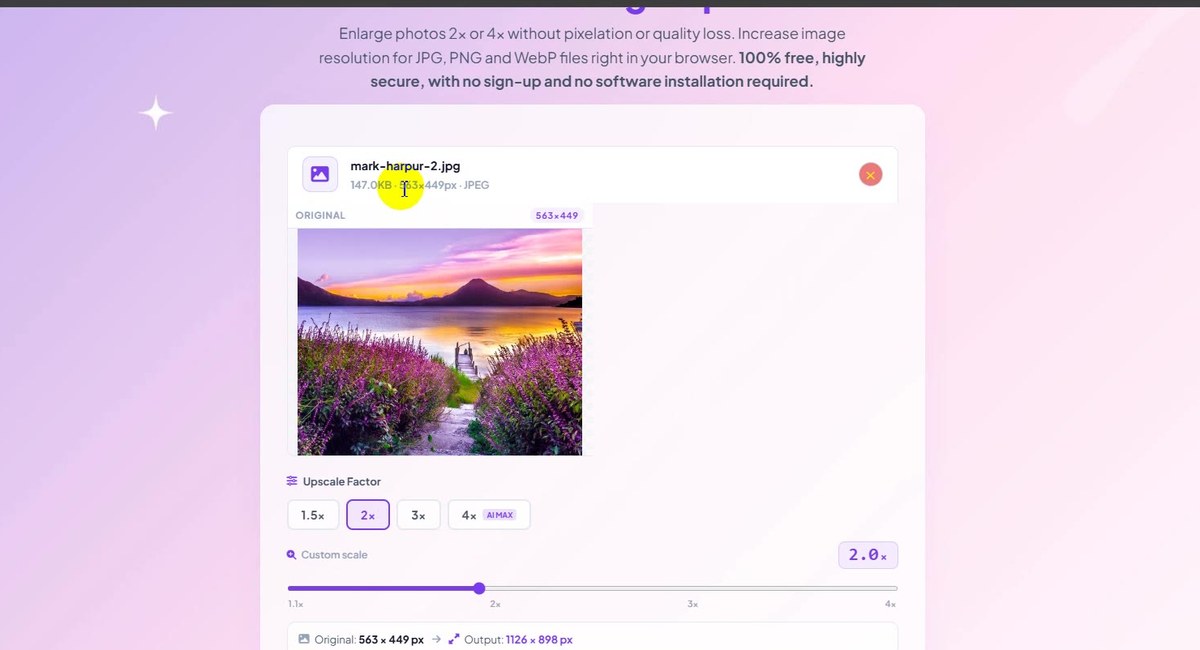
The original: 563×449 px -
Pick a scale
Choose 1.5×, 2×, 3× or 4×. The 4× button carries an AI MAX tag. A line under the slider shows the result before you start: at 2× our photo becomes 1126 × 898 px.
2× gives 1126×898 px -
Try the maximum
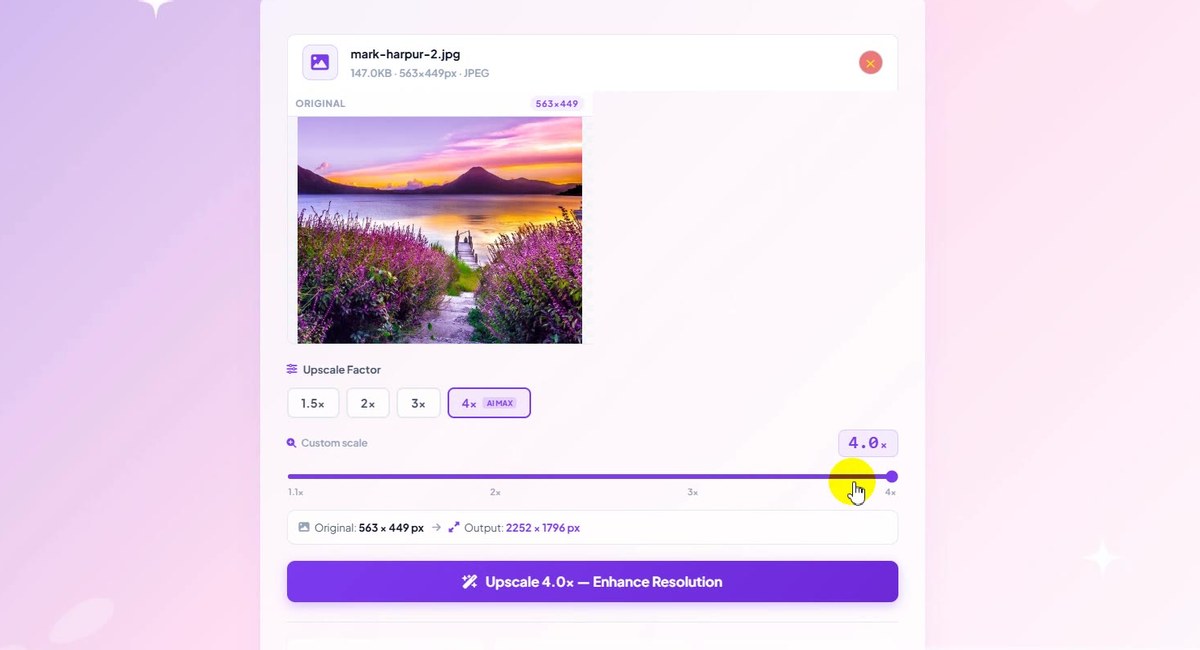
Drag the slider to the right end. At 4.0× the output size reads 2252 × 1796 px, and the main button changes to Upscale 4.0×.
4×: 2252×1796 px -
Set a custom scale
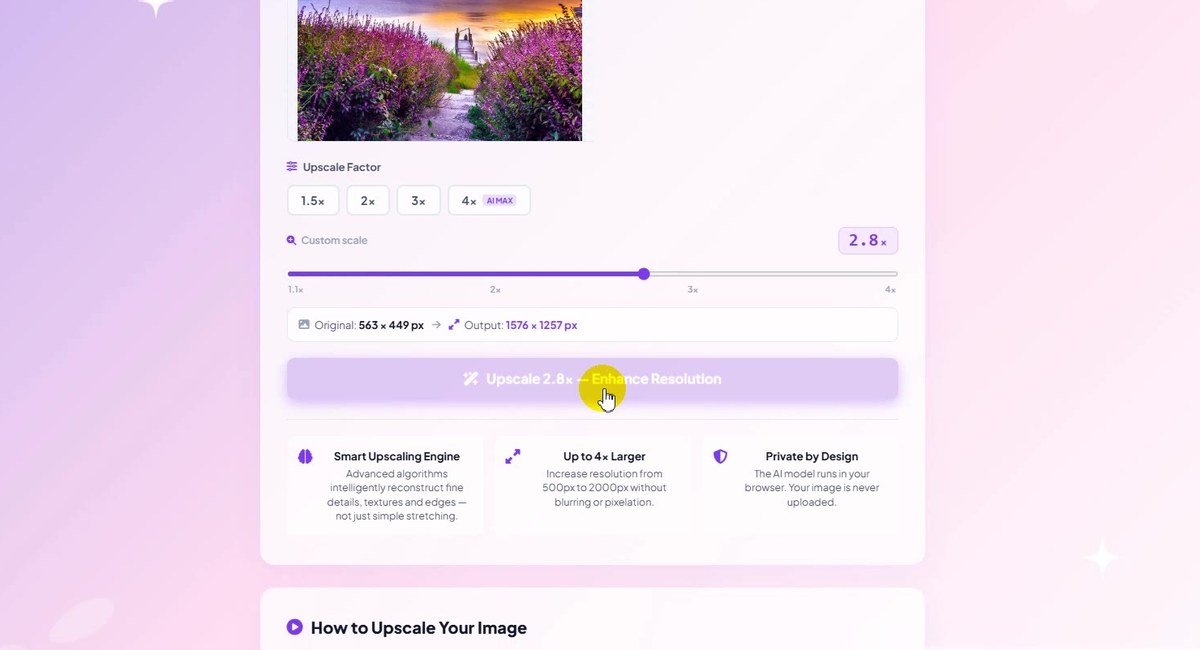
The slider also gives values in between. We stopped at 2.8×, which makes 1576 × 1257 px. Any value from 1.1× to 4× works, and the output size updates as you move.
2.8×: 1576×1257 px -
Press Upscale
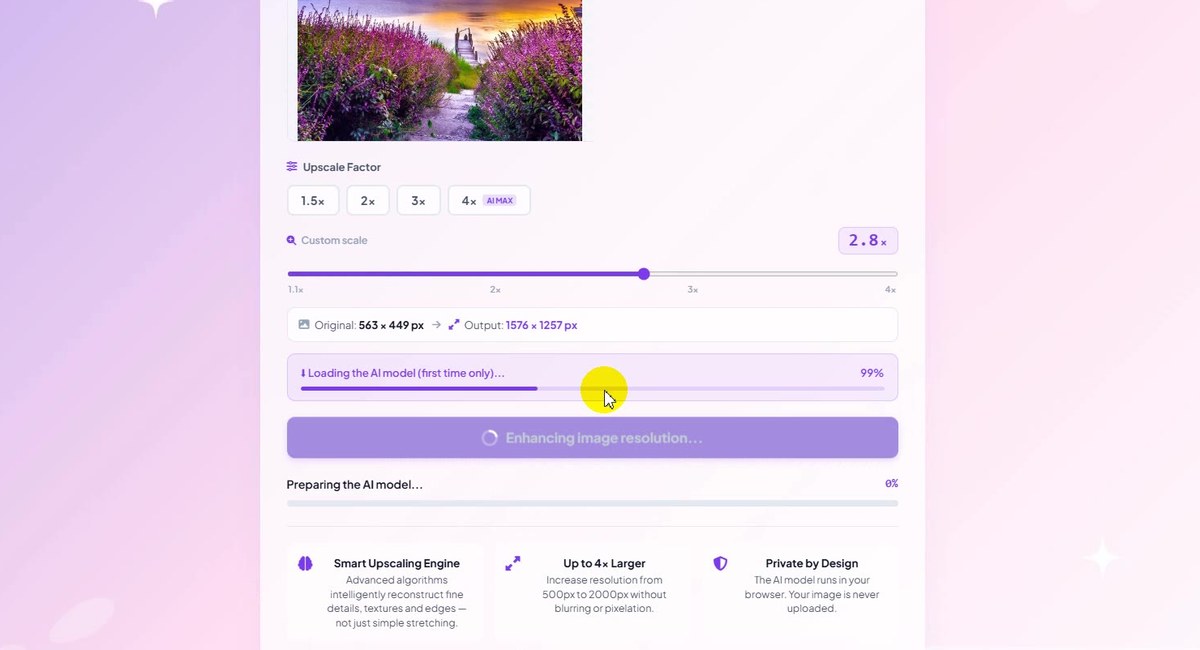
Press the purple Upscale 2.8× — Enhance Resolution button. The first time, a bar says Loading the AI model (first time only) while the model is downloaded to your browser. Then it shows Preparing the AI model….
Loading the AI model (first time only) -
Watch the progress
The bar now reads Enhancing (WebGPU) — part 10 of 20 · about 8 s left. The picture is enhanced in small parts, and the text shows which part is being worked on and how long is left.
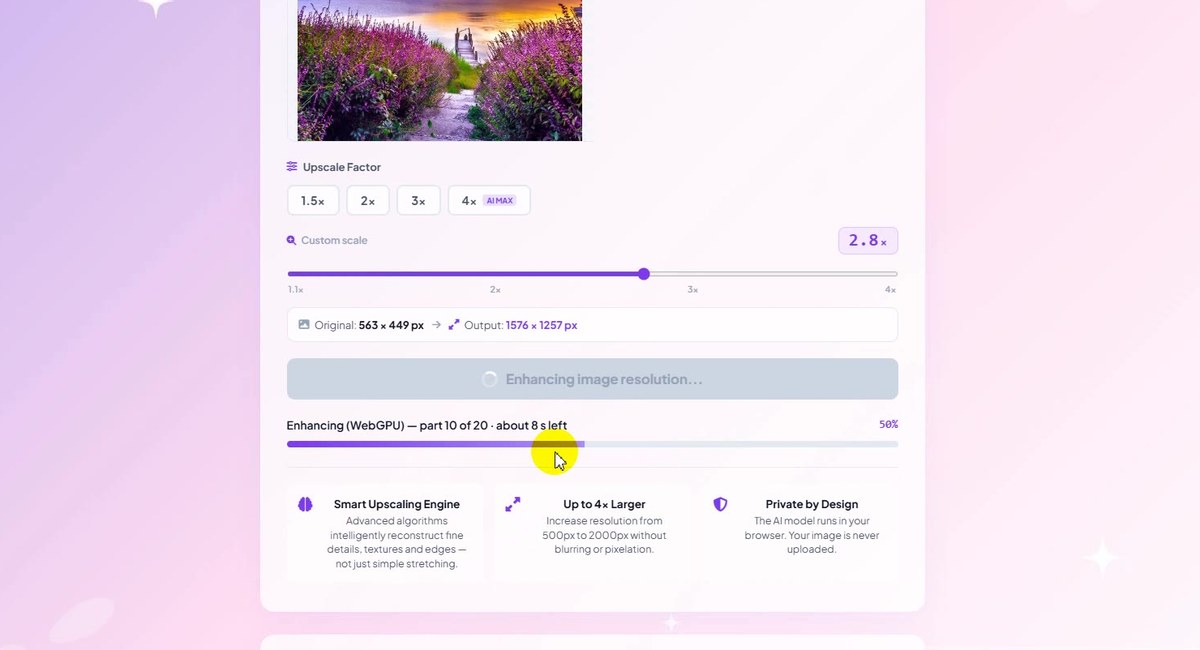
Part 10 of 20, about 8 s left -
See the result
A green box says Image upscaled successfully! with a summary line: 563×449px → 1576×1257px · JPG · 515.6KB · 14.2 s on WebGPU. The original and the upscaled picture are shown side by side above.
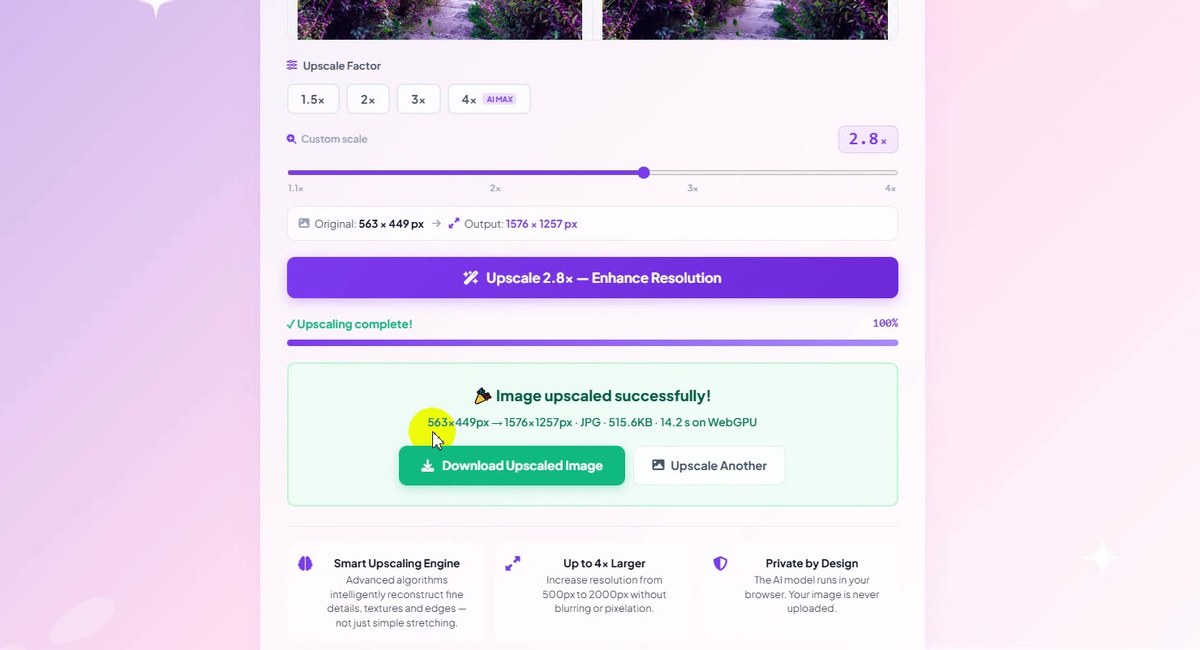
563×449 → 1576×1257 in 14.2 s -
Download the picture
Click Download Upscaled Image and choose a folder in the Save As window. The suggested name is the original name plus the new size and _upscaled: mark-harpur-2_1576x1257_upscaled.jpg. Other files on the desktop are blurred in this picture.
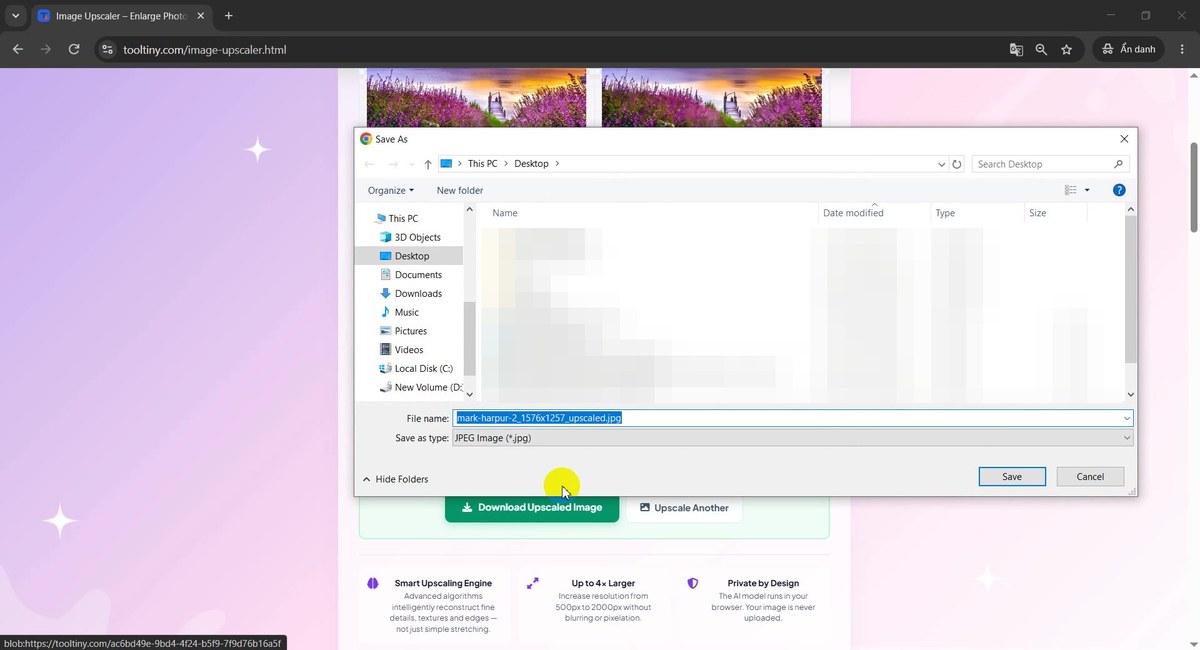
Name: ..._1576x1257_upscaled.jpg -
Save it
Press Save. In our recording the folder was Downloads.
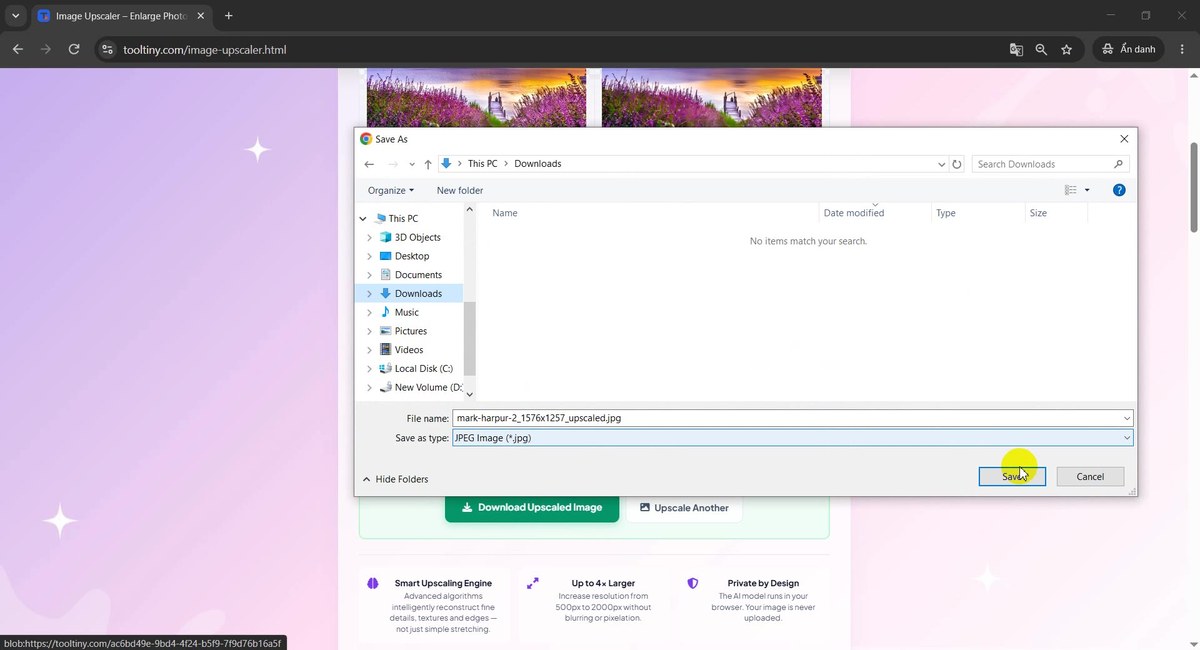
Press Save -
Check the download
The browser download list shows the new file at 516 KB, marked as done.
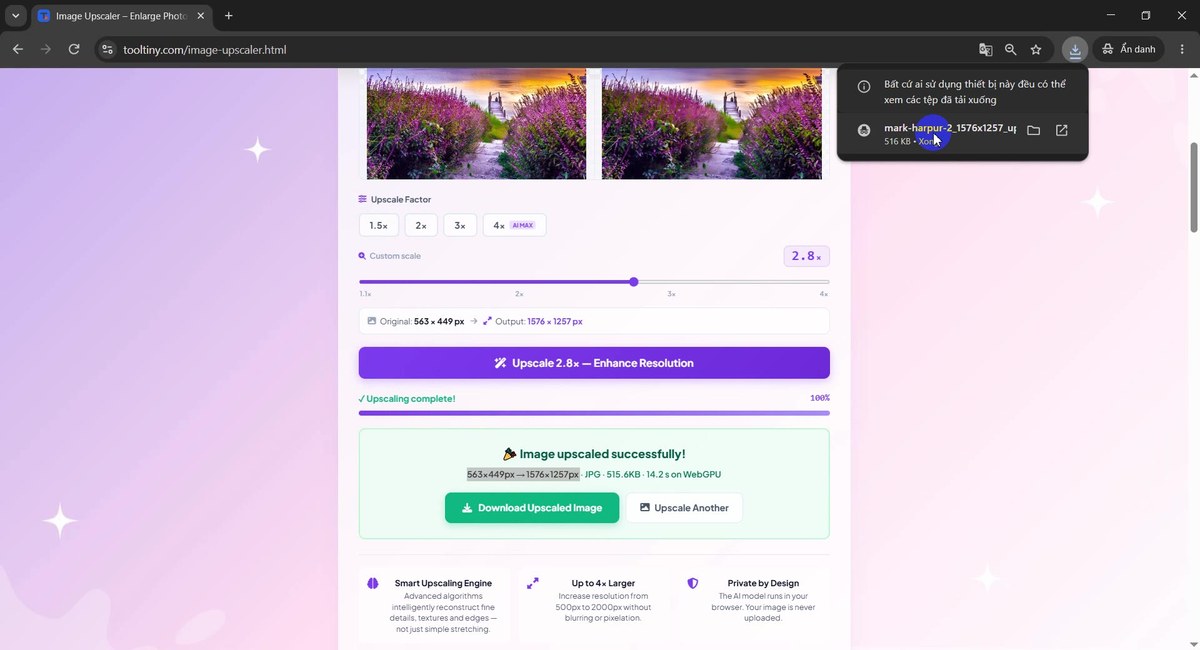
The file in the download list -
Open the result
Open the file in any photo viewer. The Photos app shows 1576 × 1257 and 515.6 KB, the same numbers the tool reported.
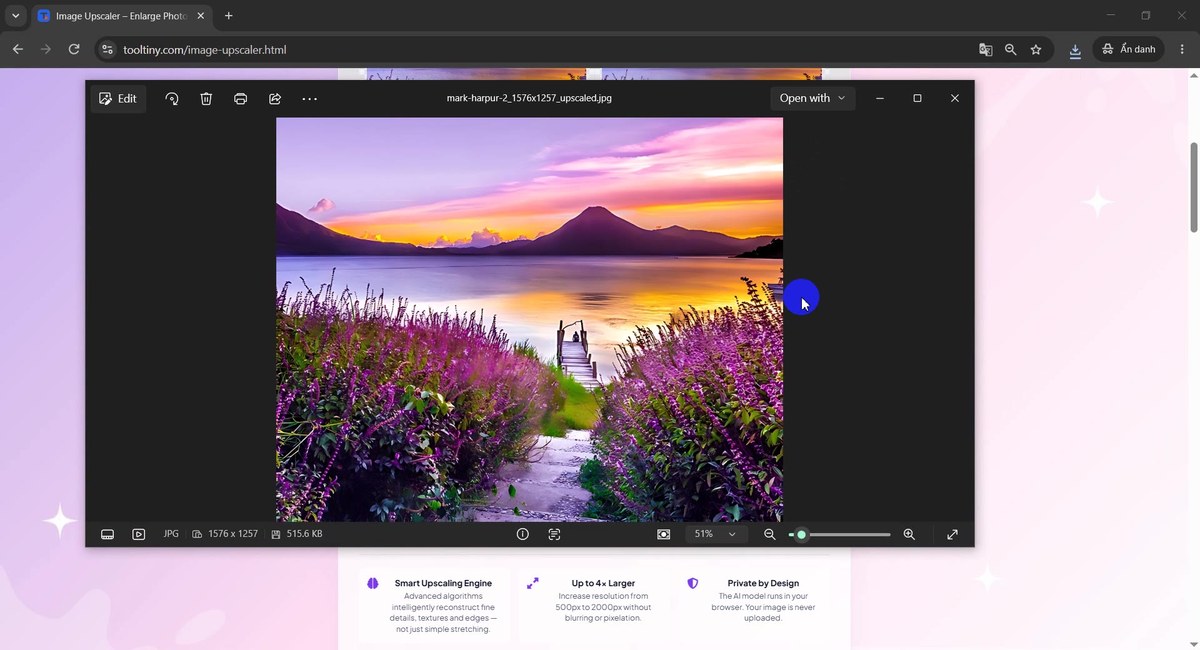
Opened in the Photos app
Which Scale Should You Choose?
| Scale | Output for our 563×449 photo | Good for |
|---|---|---|
| 2× | 1126 × 898 px | A moderate boost, fastest |
| 2.8× (custom) | 1576 × 1257 px | What we used: a full-screen picture |
| 3.1× (custom) | 1745 × 1392 px | Between the presets |
| 4× (AI MAX) | 2252 × 1796 px | The biggest enlargement |
The sizes above are the ones the page showed in our recording. A larger scale means a bigger file and more parts to process, so it takes longer.
Good to Know
- Formats and size: JPG, PNG and WebP, up to 16 MB and about 2 megapixels.
- Output size limit: the longest side can be up to 4096 pixels. The tool shows the real output size before you start.
- First run: the AI model is downloaded once to your browser (Loading the AI model (first time only)).
- Speed depends on your device. We saw Enhancing (WebGPU) with a parts counter and a time estimate. Browsers without WebGPU use a slower mode.
- The file name: it ends with the new size and _upscaled, so your original is not overwritten.
- Nothing is uploaded. The page says the AI model runs in your browser.
- Free: no sign-up, no watermark.
Tips for Better Results
- Start from the best source you have. A cleaner original gives a cleaner result.
- Read the output size first. The line under the slider tells you the exact pixels before you press the button.
- Too big for the 2 MP limit? Reduce it first with Image Crop & Resize.
- Need a smaller file afterwards? Use the Image Compressor.
- Keep your original. The tool gives you a new file. More guides are on our blog.
Choose a scale, check the output size, download. Free, no sign-up, nothing uploaded.