How to Rotate and Flip an Image Online for Free
A phone photo that opens lying on its side, a scanned page that came out upside down, a selfie where the writing on a shirt reads backwards: each of these is fixed with one click, as long as you pick the right click. The ToolTiny Rotate & Flip Image tool turns a picture by 90° or 180° or mirrors it, shows the result before you save, and does everything in your browser. This guide follows a real recording with a 16.64 MB sunset photo, including two details you only notice when you try it: which button is selected by default, and why the saved file got bigger.
When Do You Need to Rotate or Flip a Picture?
- Sideways phone photos: some apps and websites ignore the orientation stored by the camera, so a portrait photo shows up lying down.
- Scans: a page fed into the scanner the wrong way round comes out upside down.
- Mirrored selfies: the front camera often saves a mirror image, so text in the picture reads backwards.
- Design: a person or arrow facing the wrong way in a layout can be mirrored to face the other side.
- Before uploading: a form or a print service shows the picture exactly as the pixels are stored, so it is safer to fix the orientation in the file itself.
Rotate or Flip: What Is the Difference?
| Button | What happens | Typical use |
|---|---|---|
| Rotate 90° CW | Turns the picture a quarter to the right | Top of the photo points left |
| Rotate 90° CCW | Turns it a quarter to the left (same as 270° to the right) | Top of the photo points right |
| Rotate 180° | Turns it upside down; left and right swap too | Upside-down scan |
| Flip Horizontal | Mirrors left and right | Mirrored selfie, change facing direction |
| Flip Vertical | Mirrors top and bottom; left and right stay | Reflection effects, a picture saved upside-down and mirrored |
A rotation never mirrors anything: text in a rotated picture is still readable once you turn your head. A flip creates a mirror image.
Watch the Whole Process
The recording opens the tool from the menu, tries all three rotations and both flips on the same photo, and downloads the vertically flipped version.
How to Rotate and Flip an Image, Step by Step
-
Open Rotate & Flip Image
Open the Images menu in the top bar and choose Rotate & Flip Image, or go straight to tooltiny.com/rotate-flip-image.html.
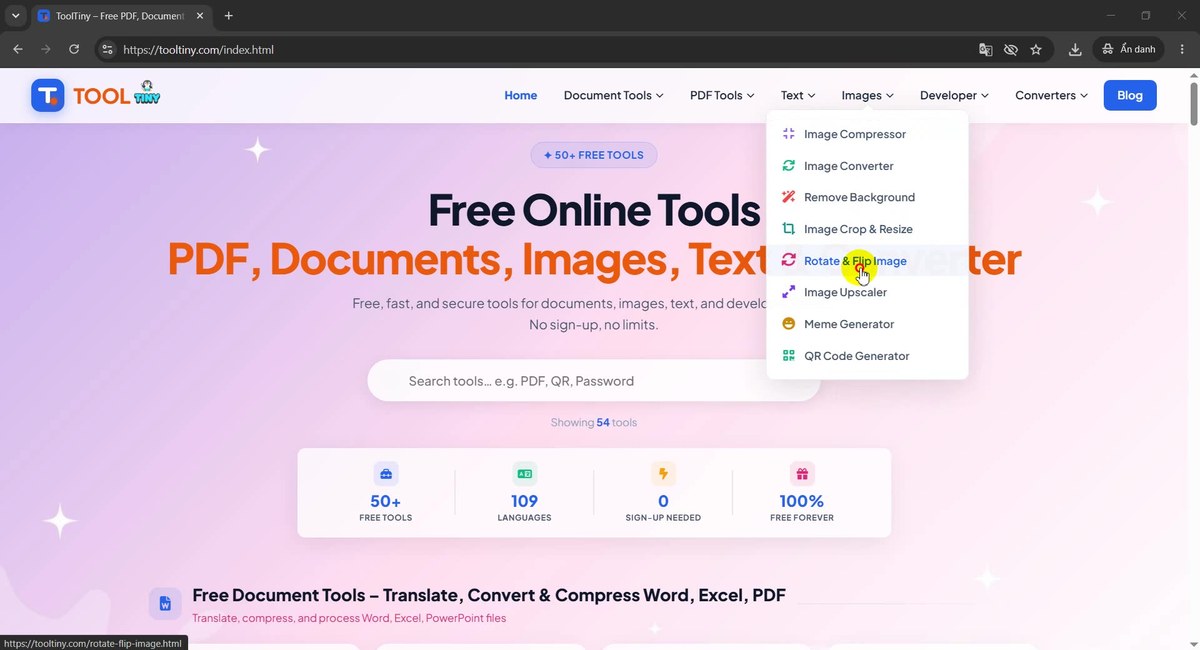
Images → Rotate & Flip Image -
Find the upload box
The page shows a Select an image box with the note “Drag & drop or click to upload (JPG, PNG, WEBP)”. The Save & Download Image button under it stays grey until a picture is loaded.
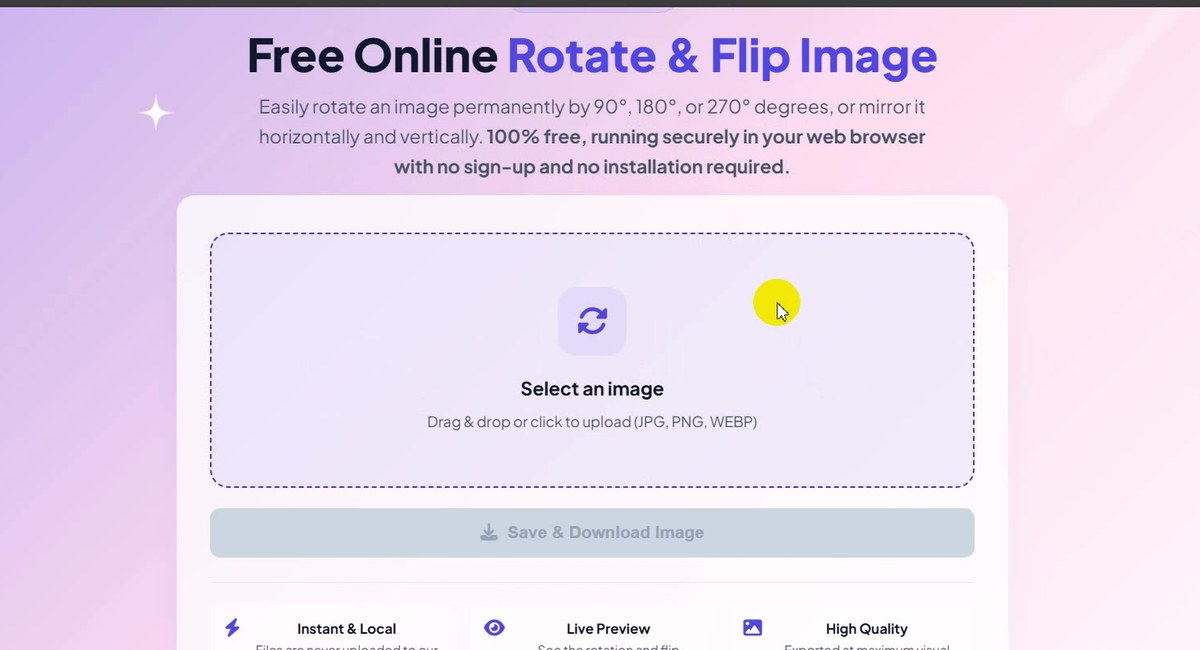
Drop a picture or click the box -
Choose a photo
In the file window select your picture and press Open. We used a JPG photo of a woman on a beach at sunset.
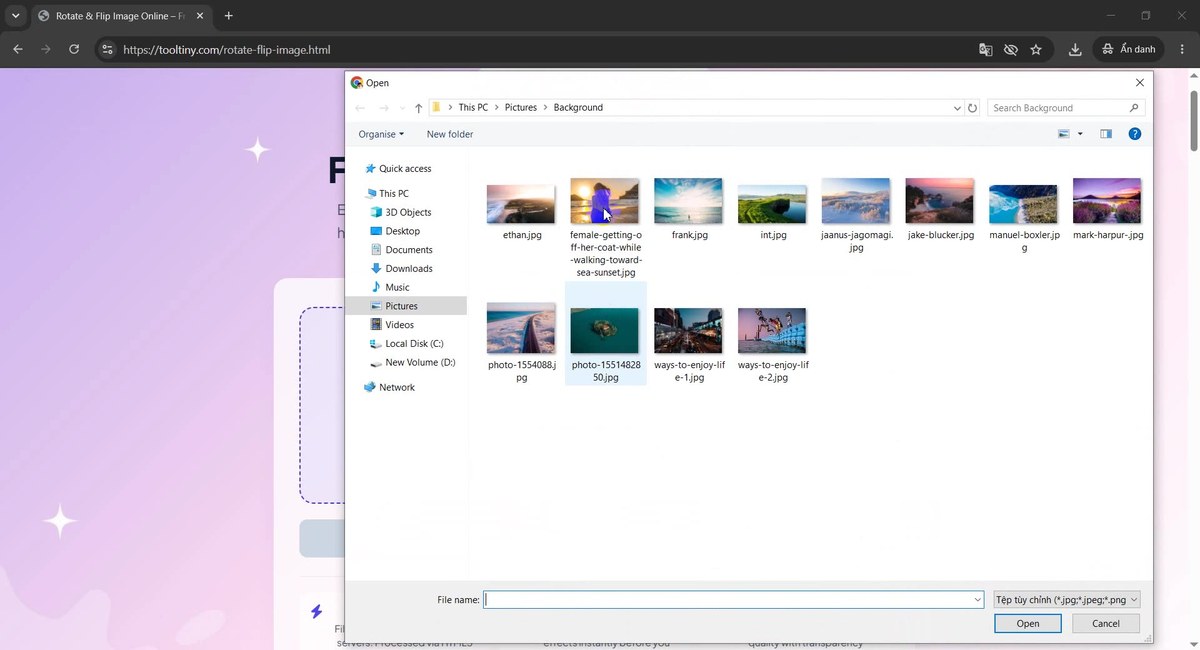
Select one image -
Look at the preview
The file name and size appear at the top: 16.64 MB · JPEG in our case. Below is a live preview and two tabs, Rotate Image and Flip Image. Note that Rotate 90° CW is already selected as soon as the photo loads, so the preview shows our landscape photo turned a quarter to the right.
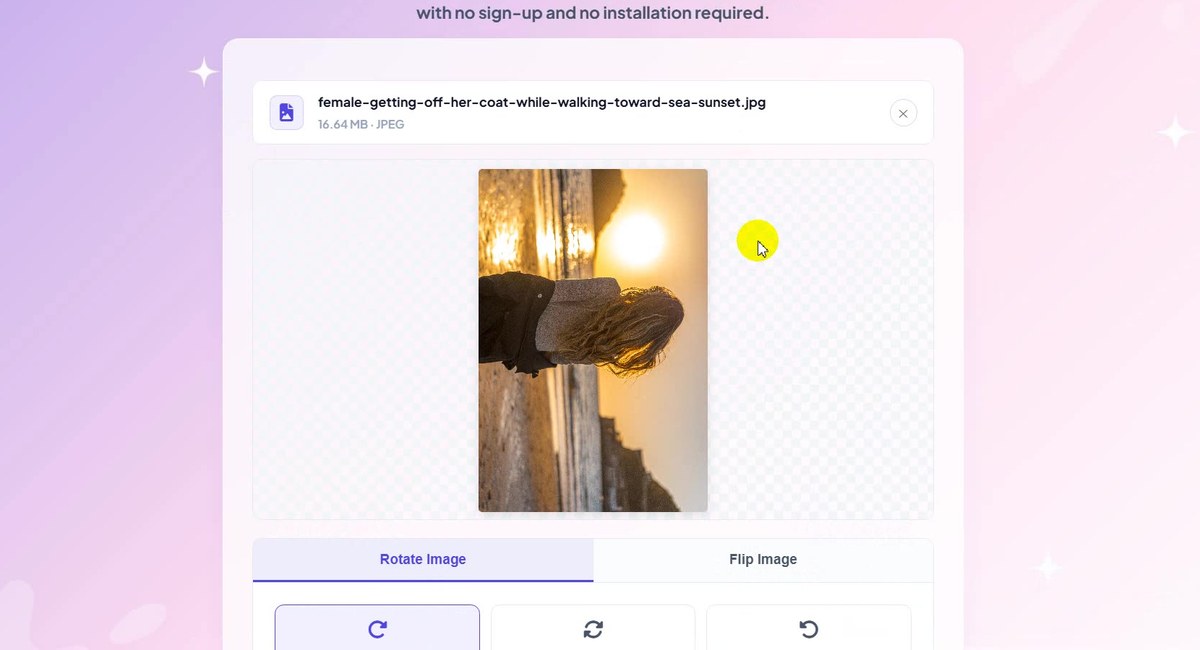
Rotate 90° CW is selected right away -
Rotate 180°
Click Rotate 180°. The preview turns the picture upside down. Each button shows the result of that one rotation of the original photo, so clicking a button does not add up turns.
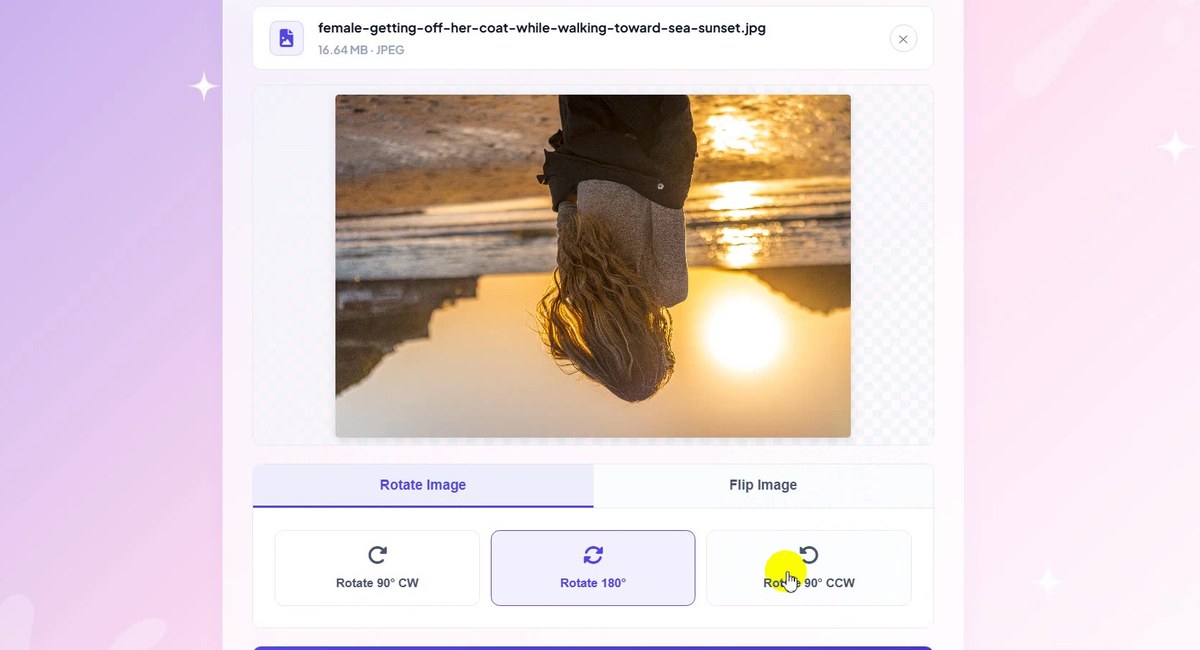
Rotate 180°: upside down -
Rotate 90° CCW
Click Rotate 90° CCW to turn the picture a quarter to the left (counter-clockwise). This is the same as turning it 270° to the right. Use 90° CW or 90° CCW to fix a phone photo that lies on its side.
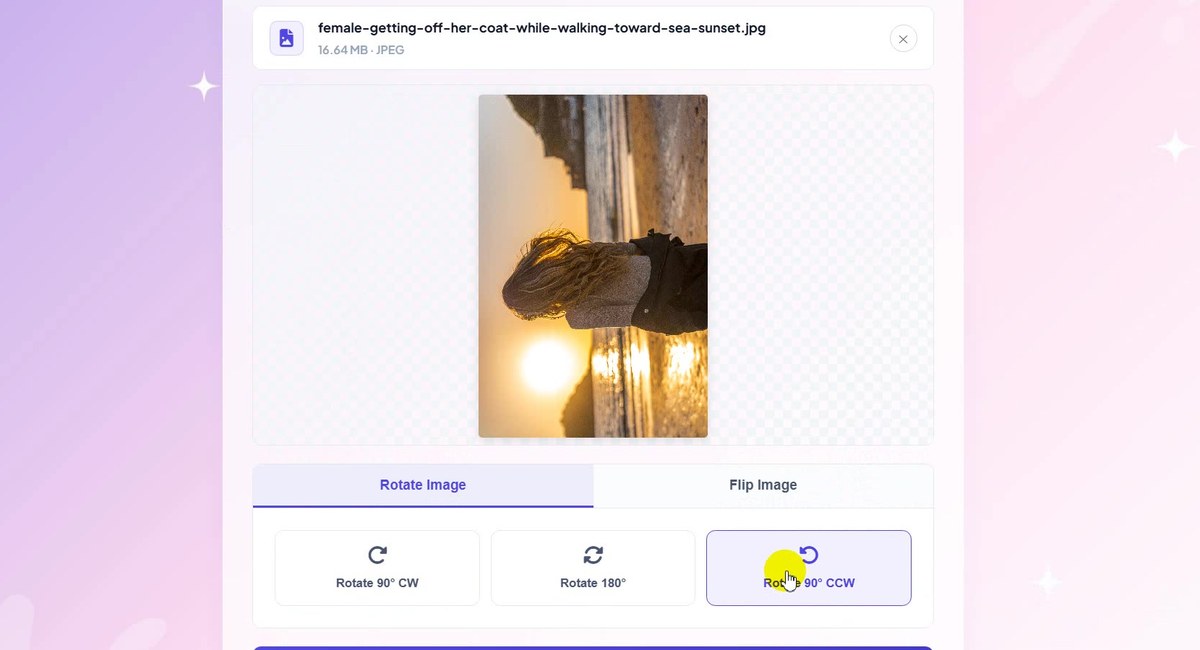
Rotate 90° CCW: a quarter to the left -
Open the Flip Image tab
Click Flip Image. The tab has two buttons, Flip Horizontal and Flip Vertical. In our recording Flip Horizontal was selected as soon as the tab opened, and the preview showed the photo in landscape again, mirrored left to right: the sun moved from the left side to the right side.
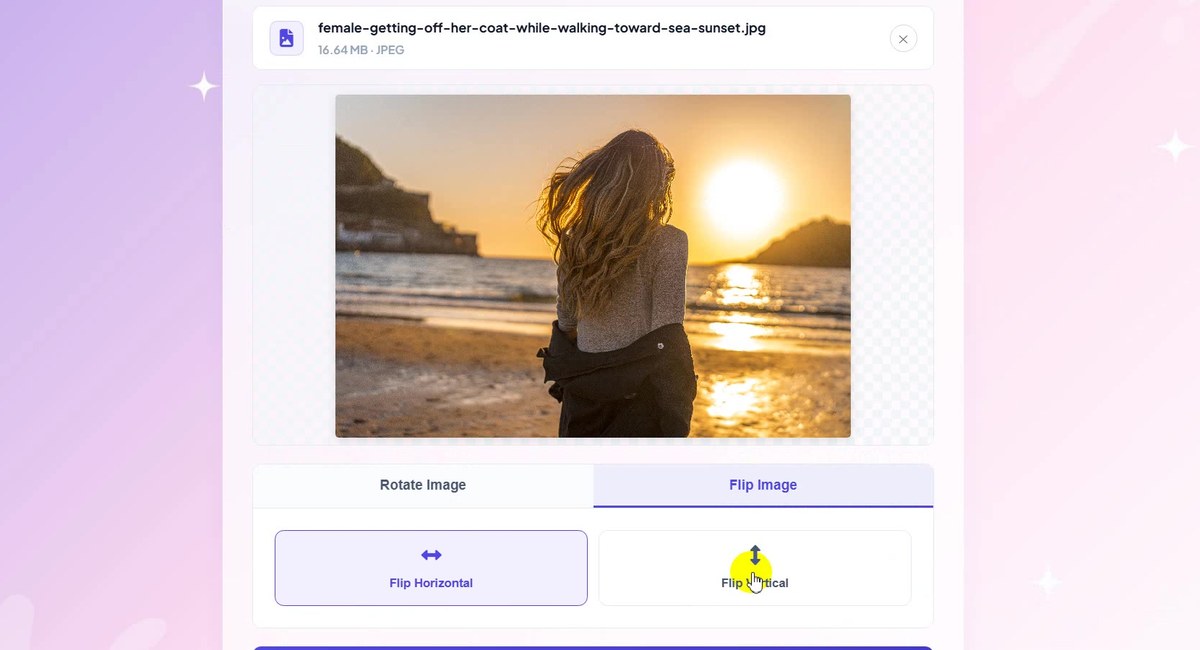
Flip Horizontal: a left-right mirror -
Flip Vertical
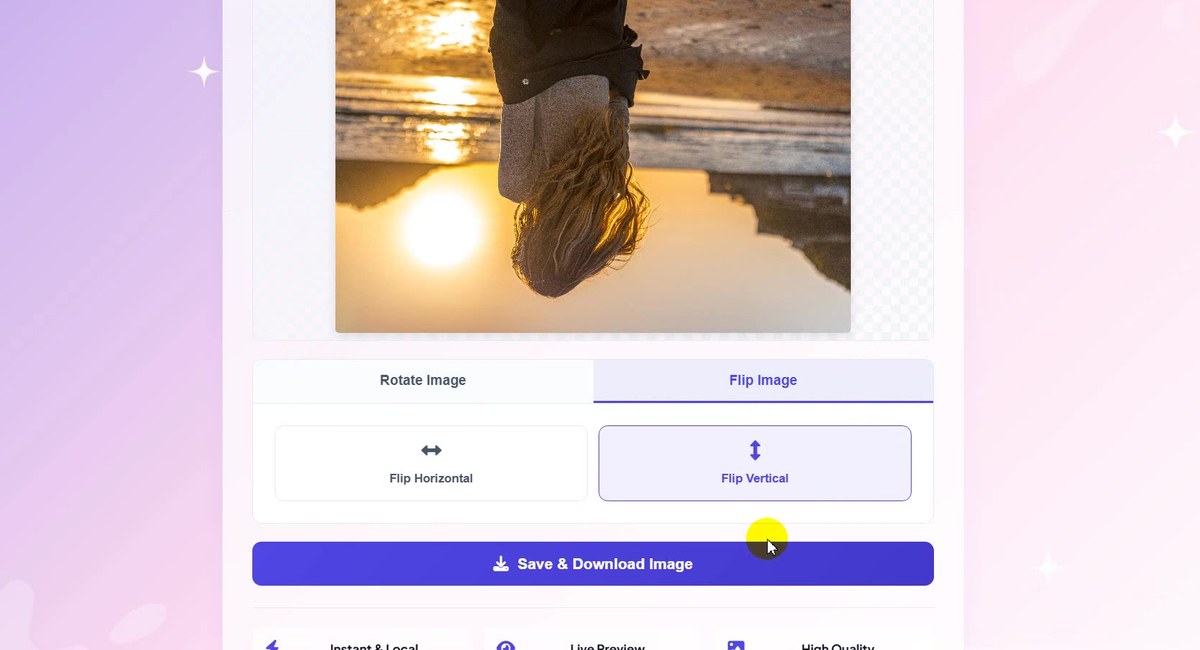
Click Flip Vertical to mirror the picture top to bottom. Unlike Rotate 180°, a vertical flip keeps the left and right sides where they are: the sun stays on the left, only upside down.
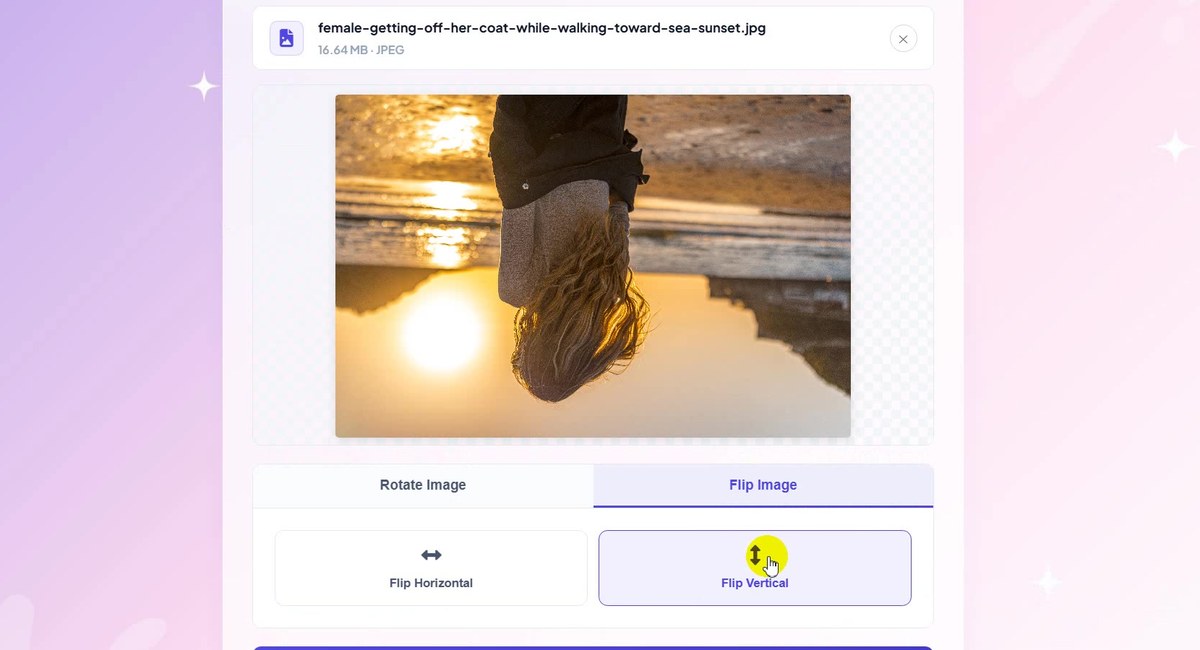
Flip Vertical: a top-bottom mirror -
Press Save & Download Image
When the preview looks right, press the blue Save & Download Image button under the tabs.
Save & Download Image -
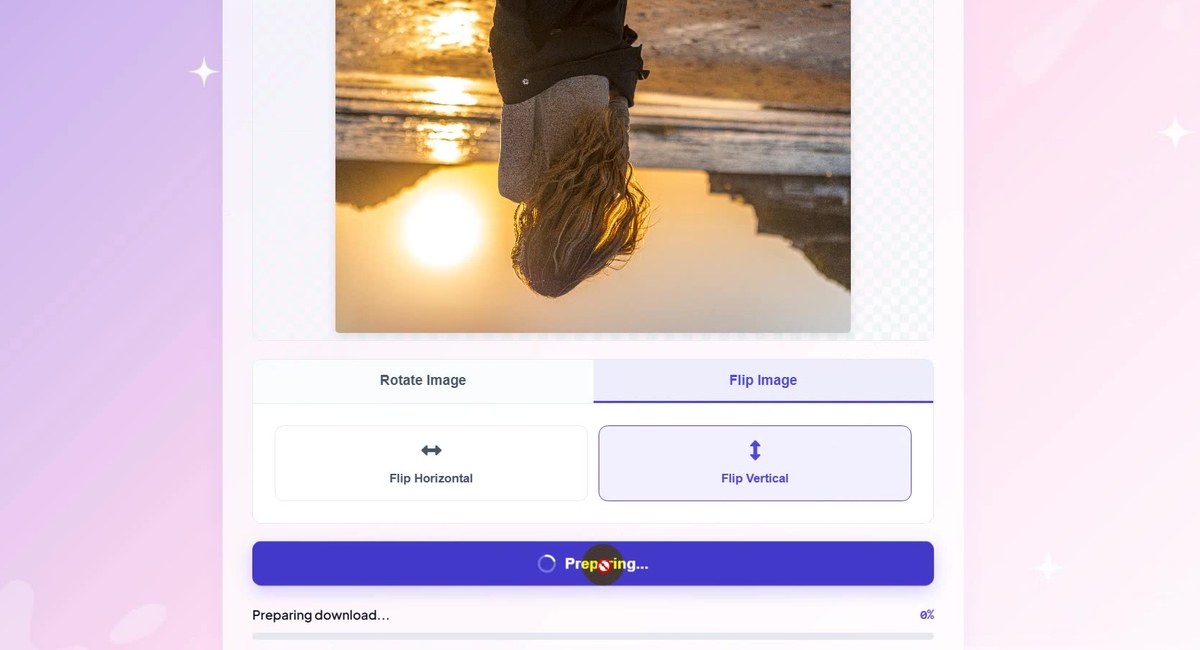
Wait for Preparing download
The button changes to Preparing… and a bar shows Preparing download… with a percentage. For our 16.64 MB photo it took a few seconds. Everything happens in your browser.
Preparing download… -
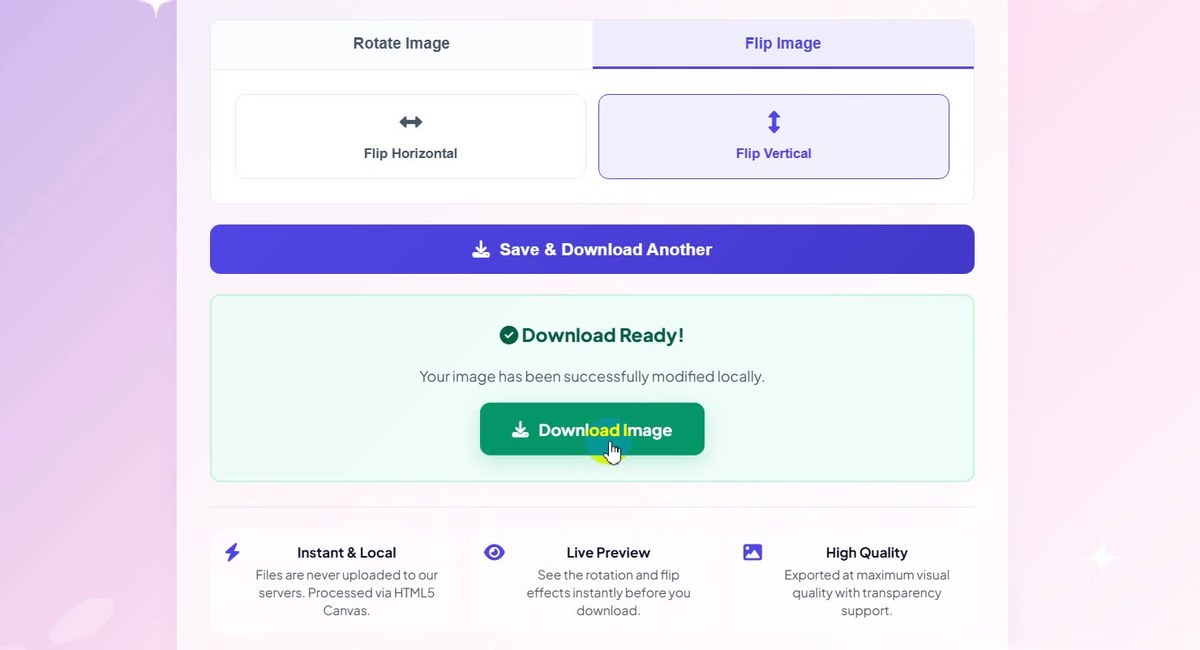
Click Download Image
A green box says Download Ready! and “Your image has been successfully modified locally.” Click Download Image. The blue button now reads Save & Download Another.
Download Ready: click Download Image -
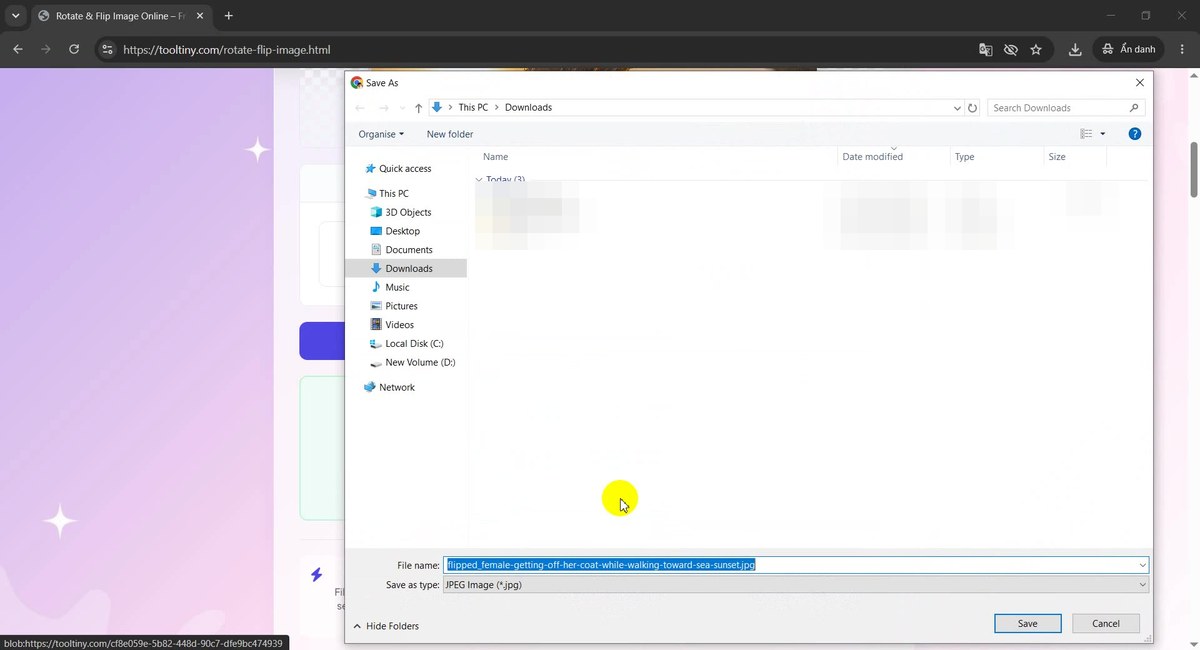
Save the file
Choose a folder in the Save As window and press Save. The suggested name was the original name with flipped_ in front: flipped_female-getting-off-her-coat-while-walking-toward-sea-sunset.jpg. The other files in the folder are blurred in this picture.
The new name starts with flipped_ -
Check the download
The browser download list shows the new file: 19.5 MB, a little larger than the 16.64 MB original. The page says the picture is exported at maximum quality, and that explains the extra size. Other downloads in the list are blurred.
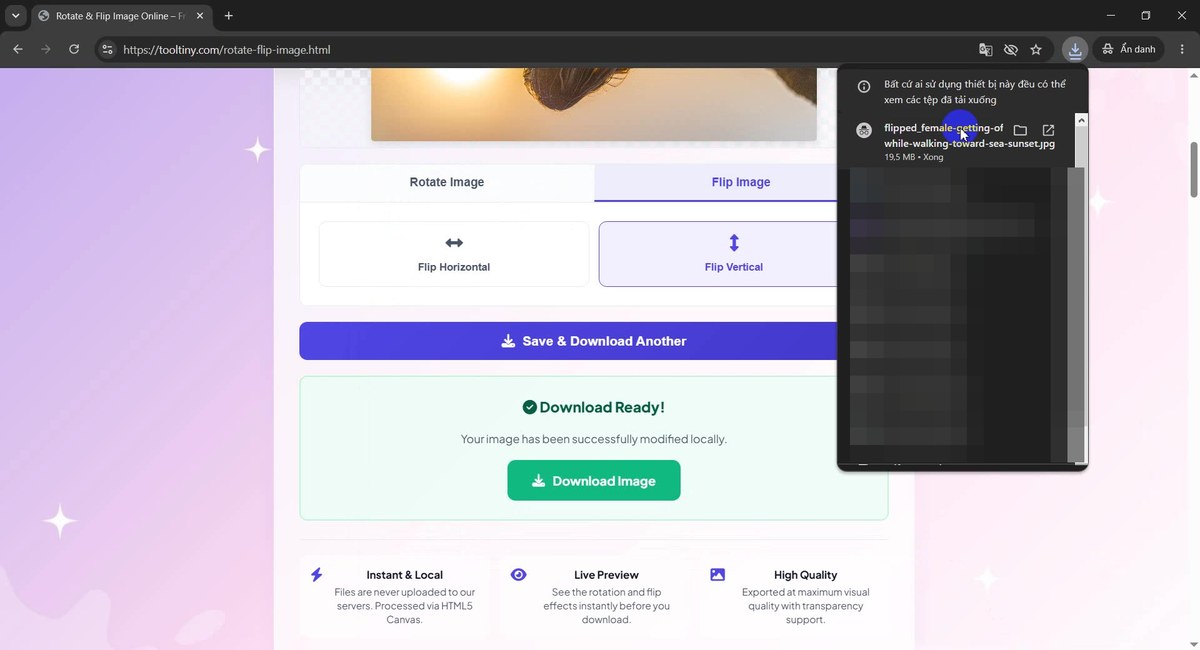
19.5 MB file in the download list -
Open the result
Open the file in any photo viewer. Our photo is now mirrored top to bottom, exactly as the preview showed.
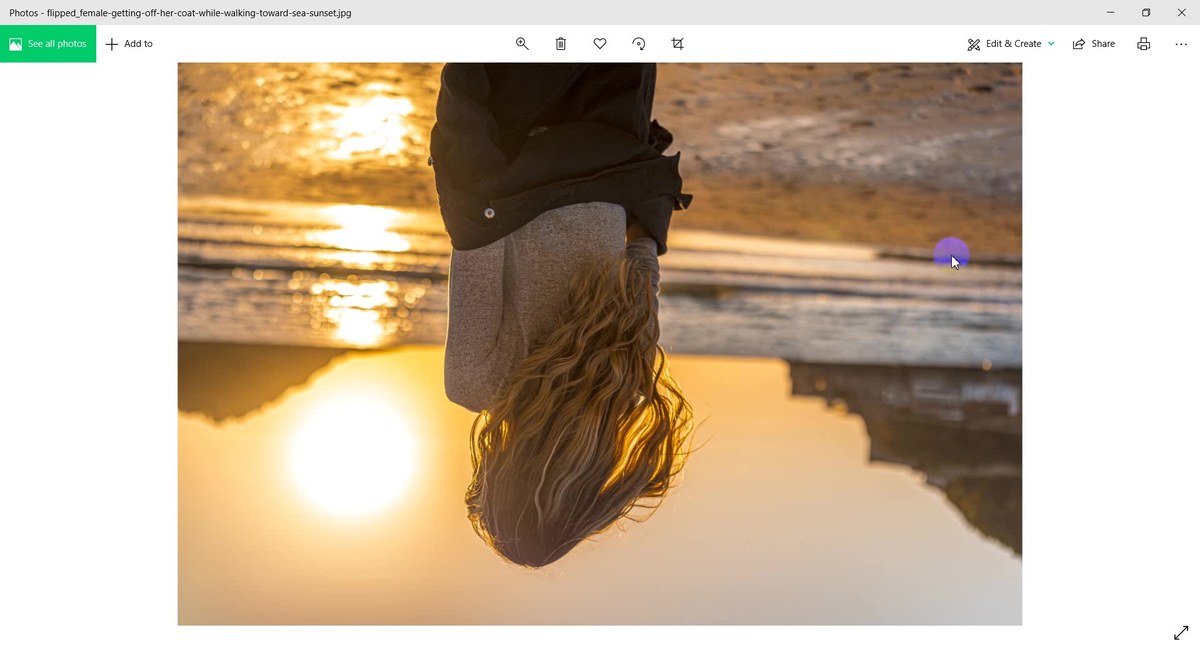
The saved photo, flipped vertically
Which Button Should You Use?
Look at where the top of the picture is now (the sky, a head, the first line of a page):
| The top of the picture is… | Click |
|---|---|
| on the left side | Rotate 90° CW |
| on the right side | Rotate 90° CCW |
| at the bottom, and text reads normally when you turn the screen | Rotate 180° |
| where it should be, but text reads backwards | Flip Horizontal |
| at the bottom, and text reads backwards when you turn the screen | Flip Vertical |
Not sure? Click the buttons one by one: the preview changes at once and nothing is saved until you press Save & Download Image.
Rotating and Flipping the Same Picture
Rotate and Flip are two separate tabs, and the page asks you to choose whether you want to rotate or flip. In our recording the photo had been rotated before we opened Flip Image, yet the preview showed it in its original orientation again, and the downloaded file contained only the vertical flip. If you need both, for example a sideways selfie that is also mirrored:
- Rotate the picture and download it.
- Open the downloaded file in the tool again.
- Open Flip Image, choose the flip and download again.
Good to Know
- Formats: JPG, PNG and WebP, up to 20 MB. The result keeps the format of the original.
- A button is selected right away. Rotate 90° CW is active as soon as a picture loads, and Flip Horizontal as soon as you open the Flip Image tab. Check the preview before you save.
- The file can get bigger. The picture is exported at maximum quality: our 16.64 MB JPG came out at 19.5 MB.
- The file name changes. After a flip our file was saved as flipped_ followed by the original name, so the original is not overwritten.
- Nothing is uploaded. The page says the picture is processed in your browser with HTML5 Canvas.
- Transparency is kept for PNG and WebP, according to the page.
- Free: no sign-up, no watermark.
Tips for Better Results
- Read the preview, not the button. Because one button is always selected, the preview tells you exactly what will be saved.
- Use a flip for text, a rotation for orientation. If the letters are mirrored, no rotation will fix them.
- Need a smaller file? Send the result through the Image Compressor.
- Need a different shape or size? Rotate first, then use Image Crop & Resize.
- Keep your original. The tool gives you a new file with a new name. More guides are on our blog.
Check the preview, then download. Free, no sign-up, nothing uploaded.