How to Make a Meme Online for Free (No Watermark, No Sign-Up)
A meme is a picture with a few words on it, and you do not need an app or an account to make one. The ToolTiny Meme Generator gives you a grid of ready-made templates, or you can use your own photo, then adds your top and bottom text, lets you pick the color and font, and saves a clean JPG with no watermark. Everything happens in your browser. This guide follows a real recording: a black-and-white template, the captions Hi and EVERYONE in red, and a finished 936×725 px file of 154.2 KB.
When Do You Need a Meme Maker?
- Chats and social posts: a quick reaction picture for friends, a group or a post.
- Jokes at work or school: a slide, a newsletter or a team chat with a bit of humor.
- Your own photos: turn a family picture or a screenshot into a caption picture.
- Content ideas: blog, community and campaign pictures made in a minute, without design software.
Watch the Whole Process
The recording opens the tool from the menu, tries the filters, picks a template, types two captions, makes them red and downloads the finished JPG.
How to Make a Meme, Step by Step
-
Open the Meme Generator
Open the Images menu in the top bar and choose Meme Generator, or go straight to tooltiny.com/meme-generator.html.
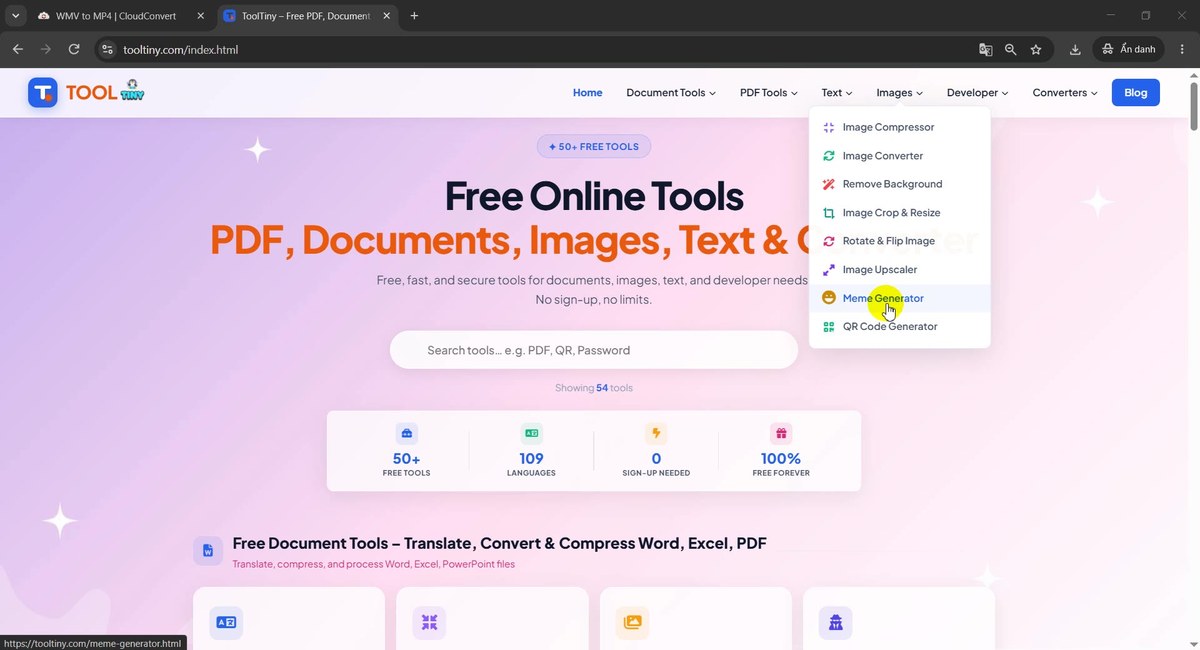
Images → Meme Generator -
Look at the page
The page opens with 1. Choose a Meme Base: an Upload Custom Photo button, a search box and the filters All, Trending, Classic, Animals, People and Gaming. The first template is already loaded with the example text WOW.
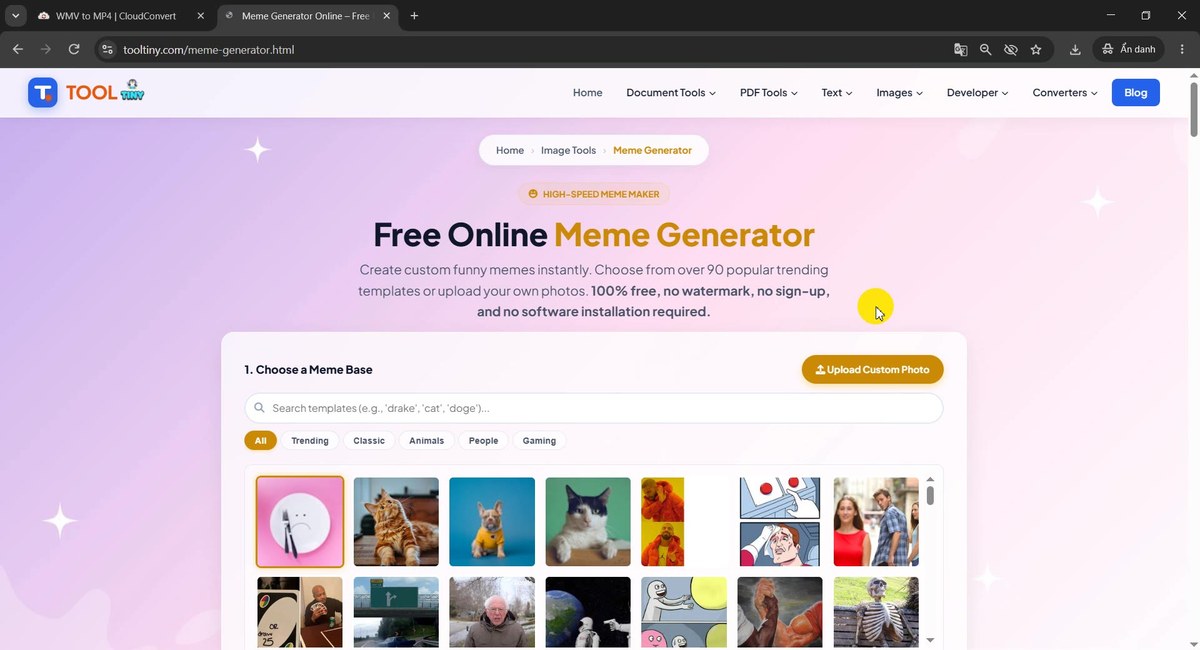
Templates, search, filters and your own photo -
Filter the templates
Click a filter to narrow the grid. In our recording we tried Trending first; the grid changes at once. All shows every template again, and the search box finds a template by name, for example “drake” or “doge”.
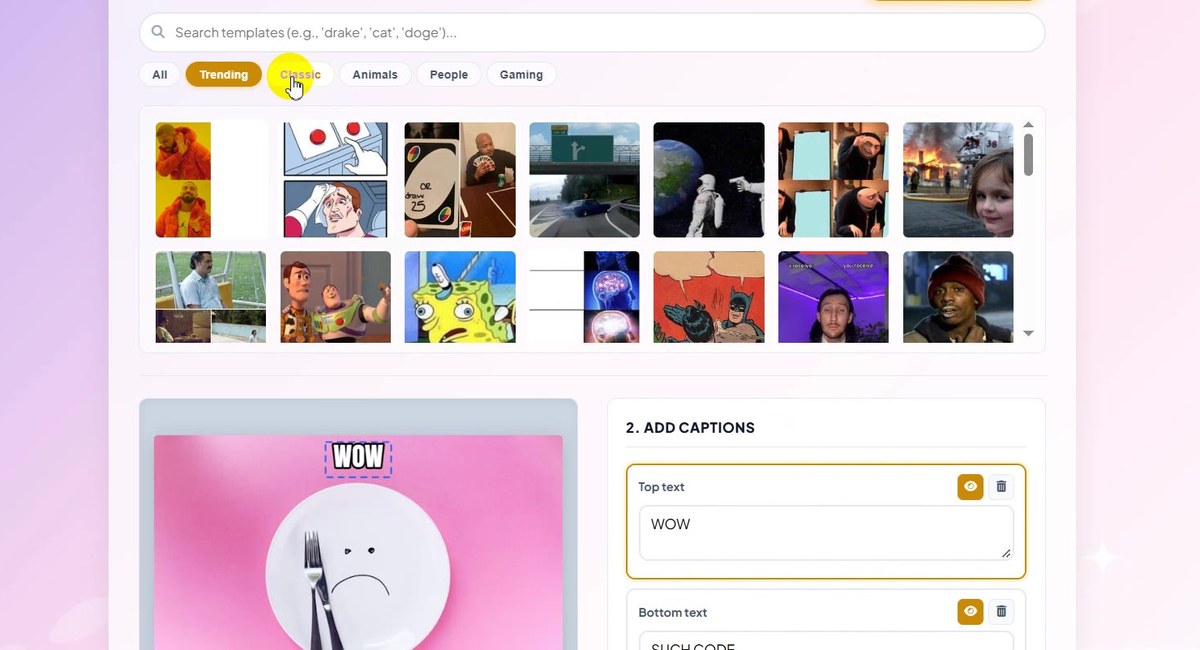
Trending filter -
Scroll and pick a template
Scroll the grid and click the one you want. A frame appears around the selected template and it loads in the preview. We chose a black-and-white photo of a man with his hands up. The text boxes were empty, with the hints TOP TEXT GOES HERE and BOTTOM TEXT GOES HERE.
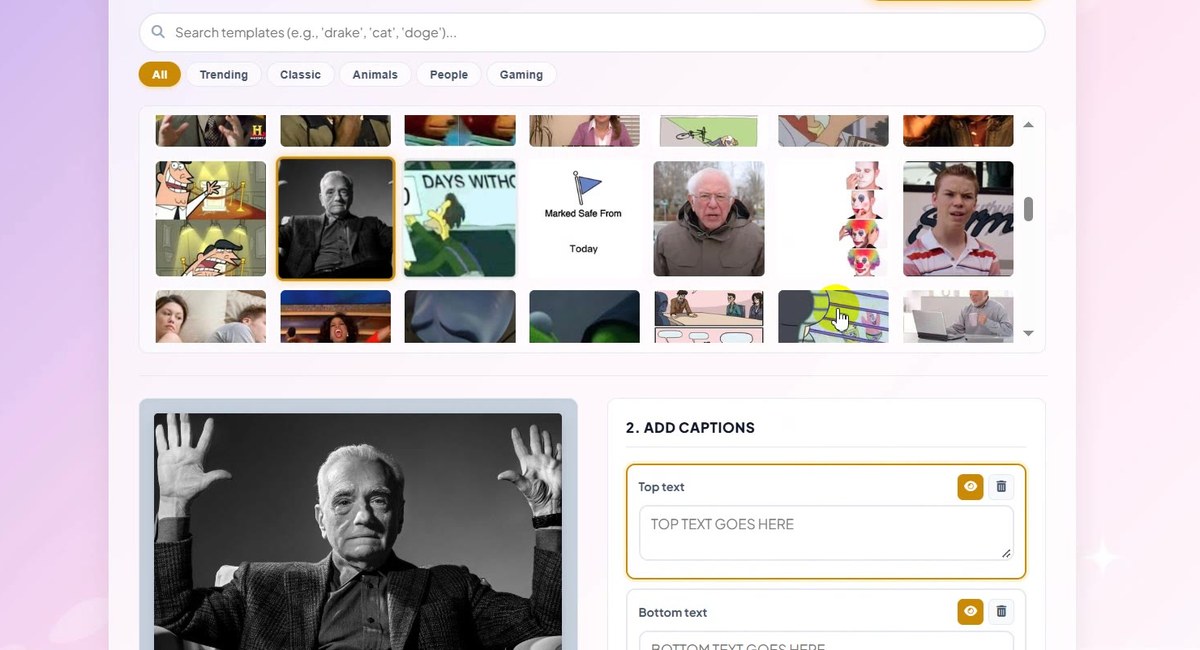
Click a template to load it -
Type the top text
Click Top text under 2. Add Captions and type. We typed Hi. The caption appears at the top of the picture in capital letters, with a dashed frame to show it is selected. Under the preview the page shows the picture size, 936 × 725 px for this template.
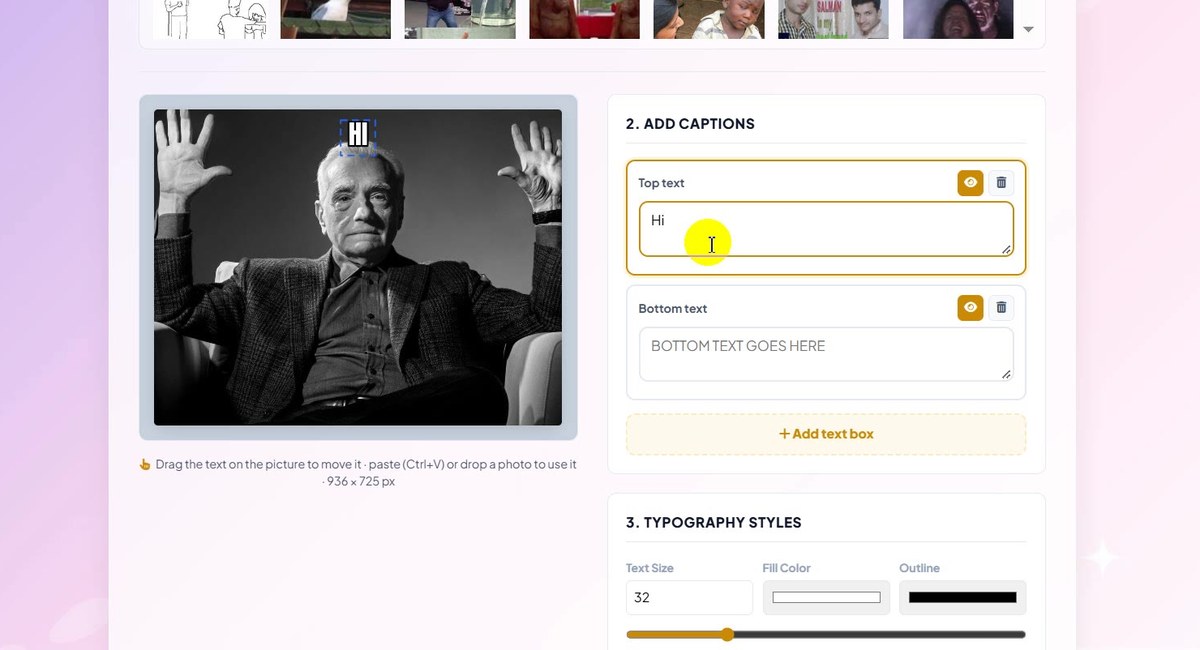
Top text: Hi -
Type the bottom text
Click Bottom text and type. We typed EVERYONE. The text on the picture updates with every letter you type.
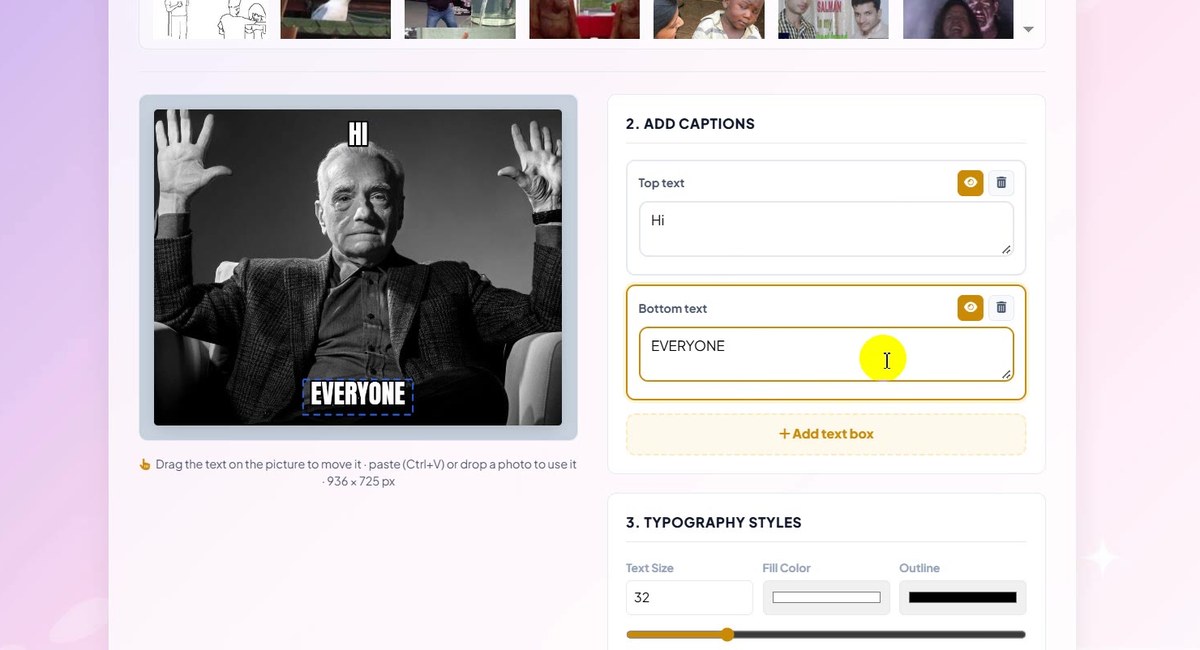
Bottom text: EVERYONE -
Change the color
Under 3. Typography Styles there are Text Size (32 by default), Fill Color and Outline. We clicked Fill Color and picked a red, 197, 22, 22 in RGB.
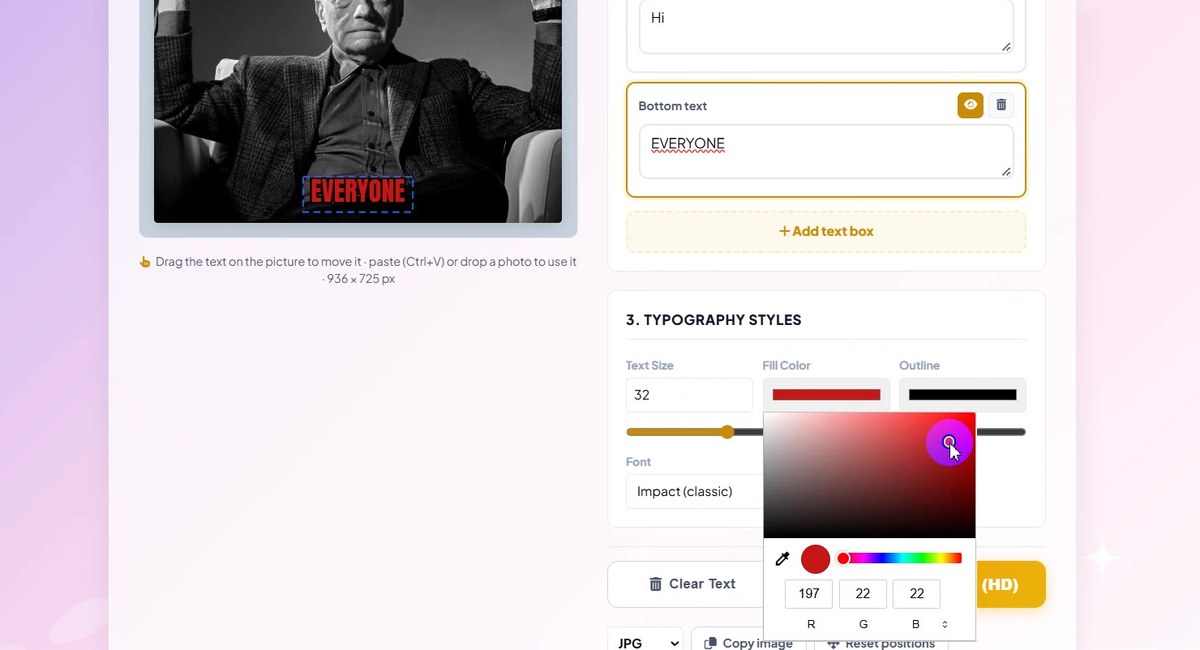
Fill Color: red 197, 22, 22 -
Both captions follow
The tick box Apply to all text is on by default, so the new color was used for both captions, HI and EVERYONE. ALL CAPS is also ticked. Untick Apply to all text if you want to style one caption on its own.
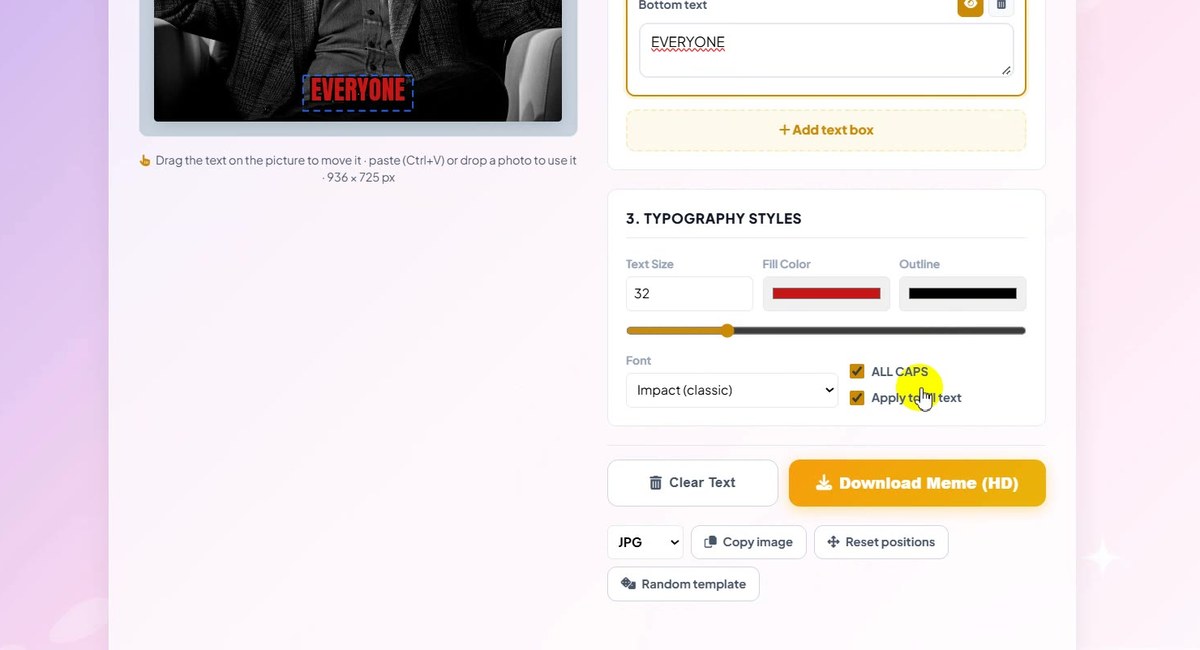
Apply to all text is ticked -
Look at the font list
The Font list has three choices: Impact (classic), Comic and Clean bold. We opened the list and kept the classic Impact style.
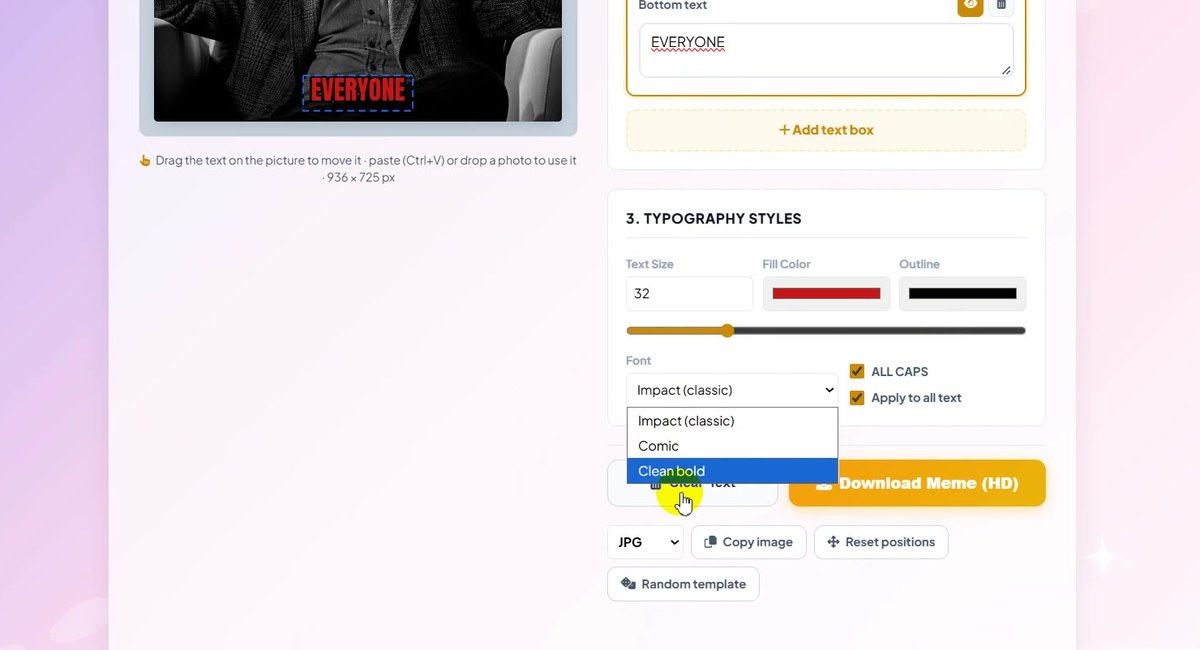
Impact (classic), Comic, Clean bold -
Press Download Meme
Under the buttons Clear Text and Download Meme (HD) there is a format list set to JPG (you can switch to PNG), plus Copy image, Reset positions and Random template. Press Download Meme (HD). A short message says Meme downloaded.
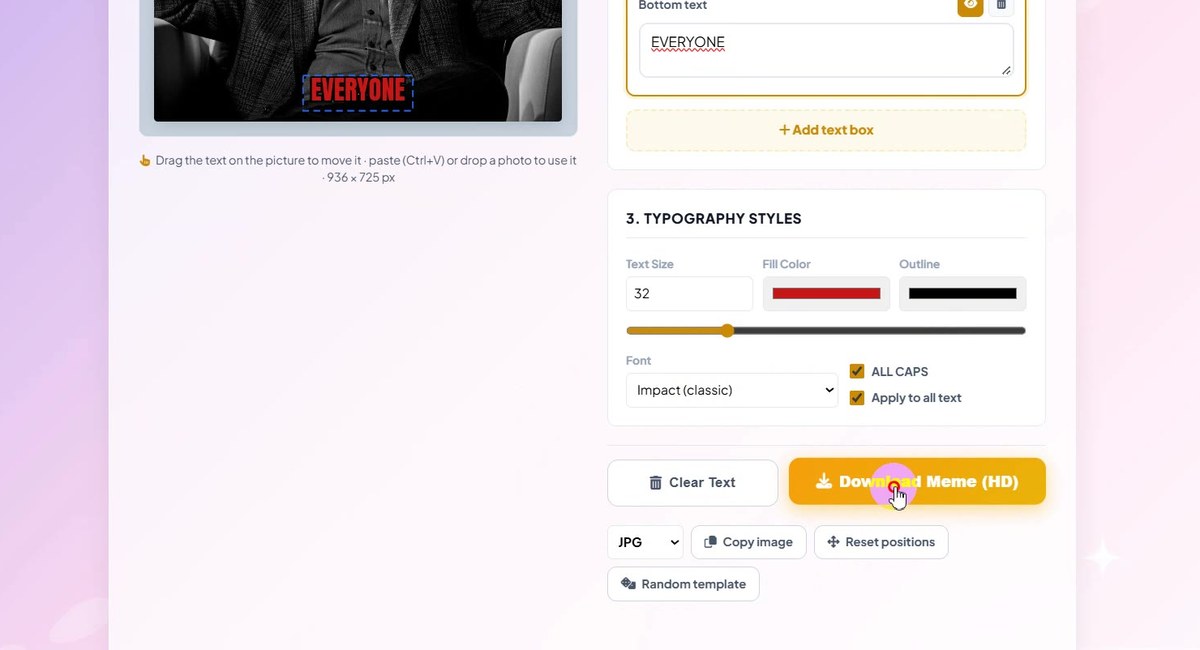
Download Meme (HD) -
Check the download
The browser download list shows the new file, named ToolTiny_Meme_ followed by a number, with the extension .jpg. Other downloads in the list are blurred in this picture.
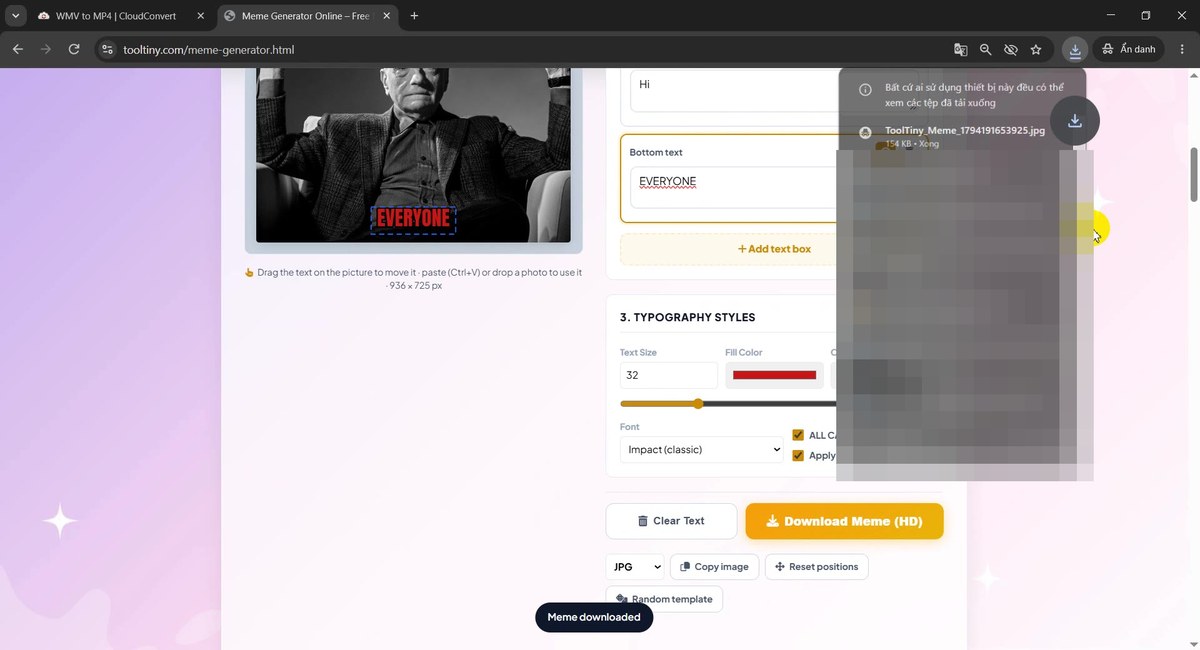
ToolTiny_Meme_….jpg -
Open your meme
Open the file in any photo viewer. The Photos app shows 936 × 725 and 154.2 KB with the red HI and EVERYONE captions, exactly as in the preview.
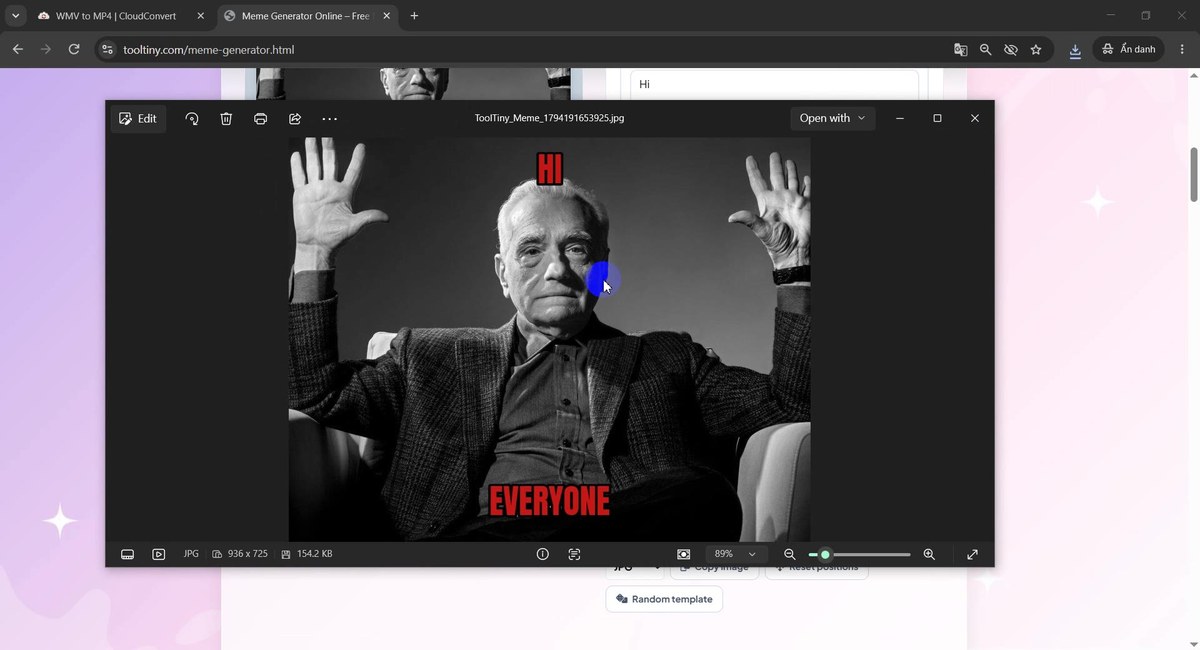
Finished meme: 936×725 px, 154.2 KB
Memes With More Than Two Captions
Some templates have several panels, and a top and a bottom caption are not enough. The page has an Add text box button under the captions. Each new box can be dragged on the picture to the place you want, up to six boxes in total, and every box has its own text box in the list. The recording shows the default top and bottom boxes only; the steps for extra boxes are:
- Click Add text box and type the text.
- Drag the text on the picture to the panel it belongs to.
- Repeat for each panel, then press Download Meme (HD).
The Reset positions button puts every caption back to its starting place if you want to begin again.
Good to Know
- Own photos: Upload Custom Photo accepts JPG, PNG and WebP. You can also paste a picture with Ctrl+V or drop a file on the preview.
- Output: JPG by default, PNG from the format list. Our recording gave a 936×725 px JPG of 154.2 KB. The page keeps the size of your picture, up to 1600 pixels on the longest side.
- No watermark, no account. The page says the tool is free with no sign-up.
- Private: the page says the picture is processed in your browser and not uploaded.
- File name: ToolTiny_Meme_ plus a number, so downloads do not overwrite each other.
- Copyright: the page reminds you to check that you may use the base picture. Templates are well-known meme pictures, and a photo you upload stays your responsibility.
Tips for a Better Meme
- Keep it short. A few words are easier to read than a sentence, especially on a phone.
- Pick a color that stands out. White with a black outline is the default and works on most pictures. Change the Fill Color or the Outline if the picture is very light or very dark.
- Use the preview. What you see in the preview is what you download.
- Small photo? Make it bigger first with the Image Upscaler.
- Need a smaller file? Use the Image Compressor. More guides are on our blog.
Choose a template, type your text, download. Free, no watermark, nothing uploaded.