How to Remove the Background from an Image Online for Free (Transparent PNG)
A product photo for a shop, a profile picture on a plain colour, a person placed into a slide: all of them start with a cutout, a picture where only the subject is left and the background is transparent. The ToolTiny Remove Background tool does this in your browser. You upload a JPG, PNG or WebP, click one button and download a transparent PNG, with no sign-up. This guide follows a real recording with a large photo that took about 38 seconds to process, and explains what to expect from the result.
When Is a Transparent Background Useful?
- Online shops: show a product on a clean white or coloured background.
- Profile and ID-style pictures: put the person on a plain colour.
- Slides and documents: place a subject on top of a design without a box around it.
- Posters, banners and thumbnails: combine a cutout with text or another picture.
- Logos and stamps: turn a picture on a white background into a PNG you can place anywhere.
Watch the Whole Process
The recording opens the tool, uploads a photo, waits for the result, downloads the PNG and opens it.
How to Remove an Image Background, Step by Step
-
Open Remove Background
Open the Images menu in the top bar and choose Remove Background, or go straight to tooltiny.com/remove-background-image.html.
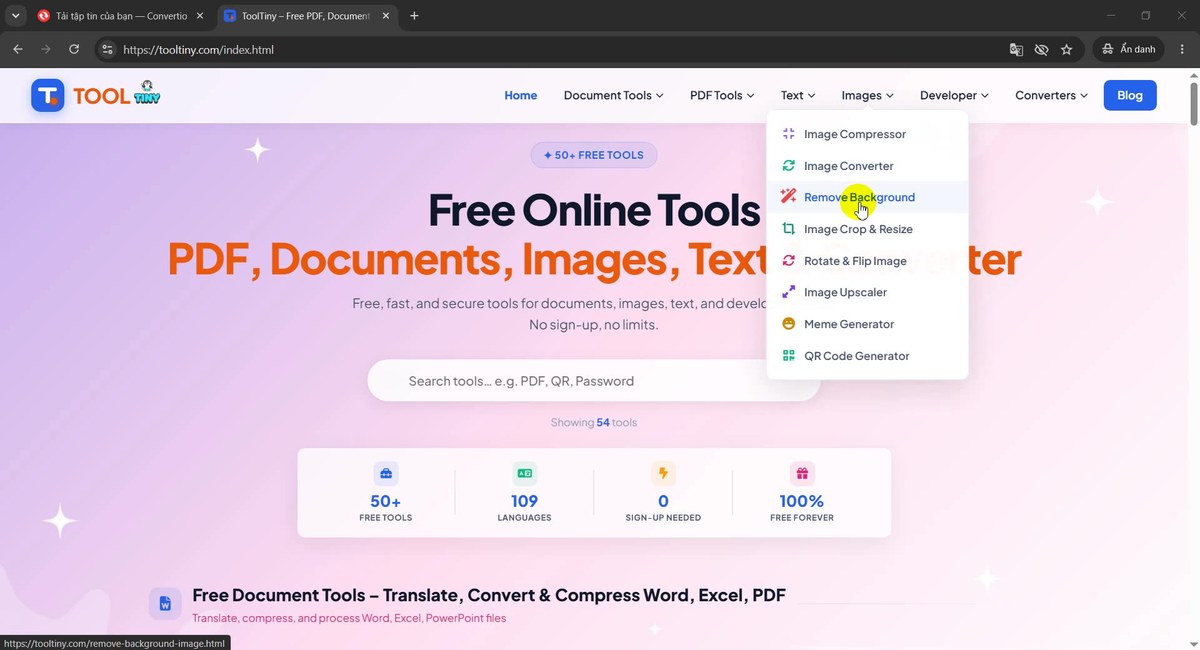
Images → Remove Background -
Let the page get ready
When the page opens, a pink bar says Loading core parameters and counts up to 100%. This is the tool getting its processing files ready. The page says it may take a moment on the first visit. When the bar reaches 100%, the line reads you can upload an image now.
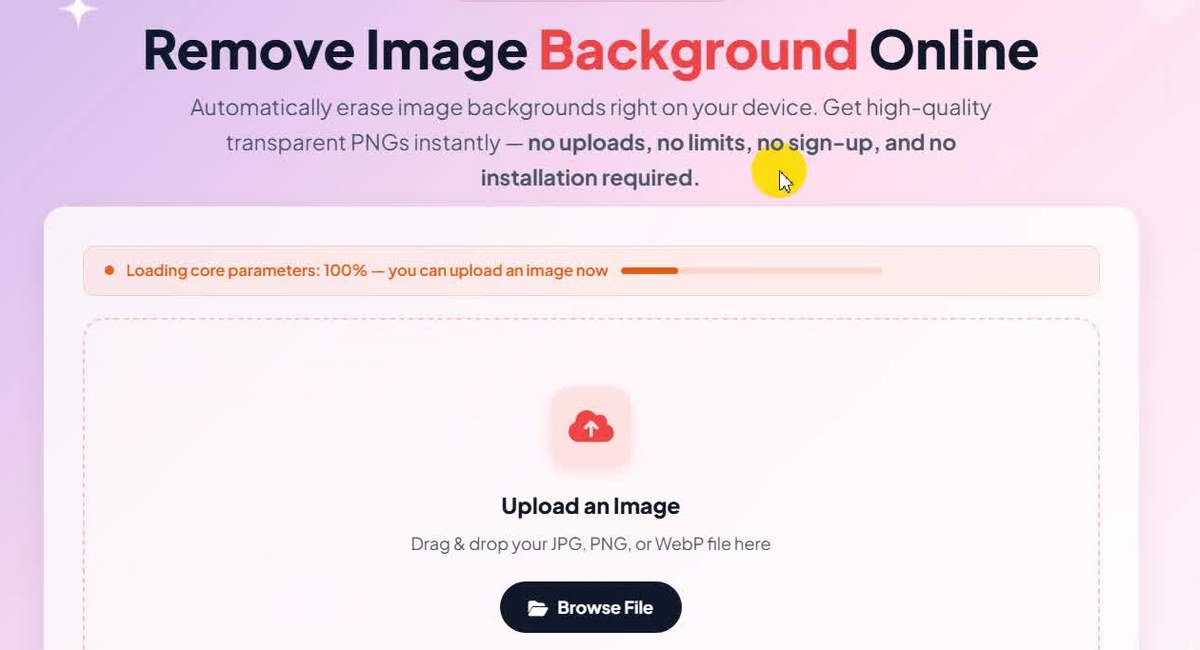
Wait for 100% before you upload -
Choose a photo
Drop a JPG, PNG or WebP on the Upload an Image box, or press Browse File. In our recording we picked a photo of a woman on a beach at sunset in the file window and pressed Open.
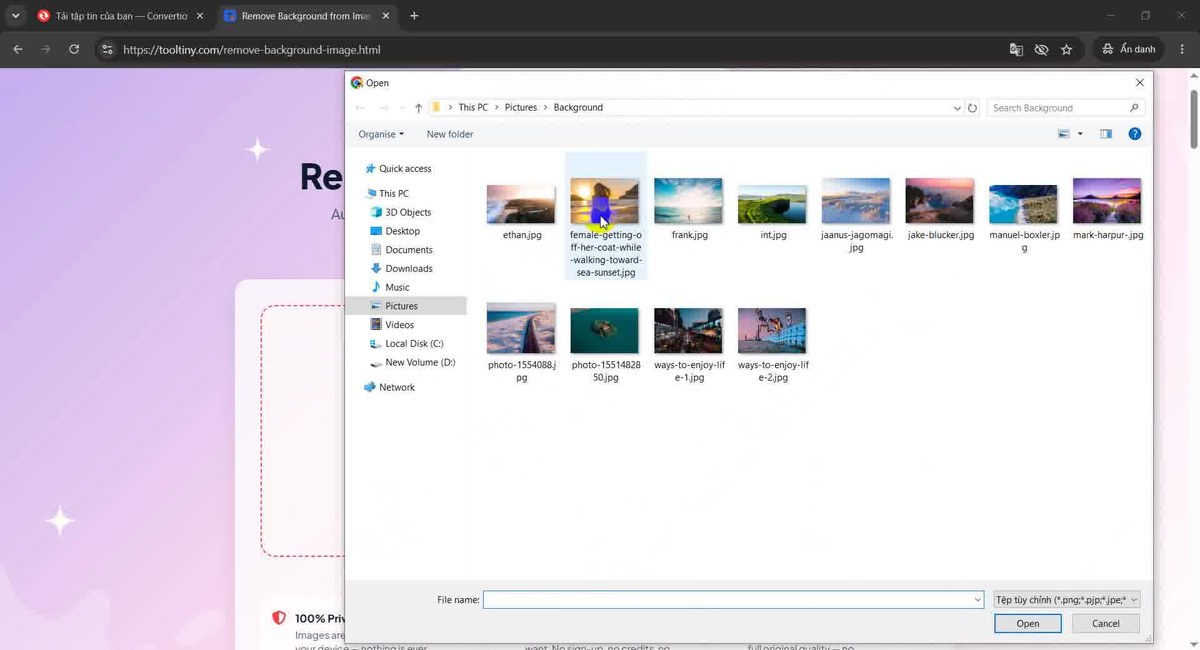
Select one photo -
Check the original
The photo appears in the Original box. The Transparent Result box next to it is still an empty checkerboard. Below are two buttons: New Image to start again with another photo and the red Remove Background.
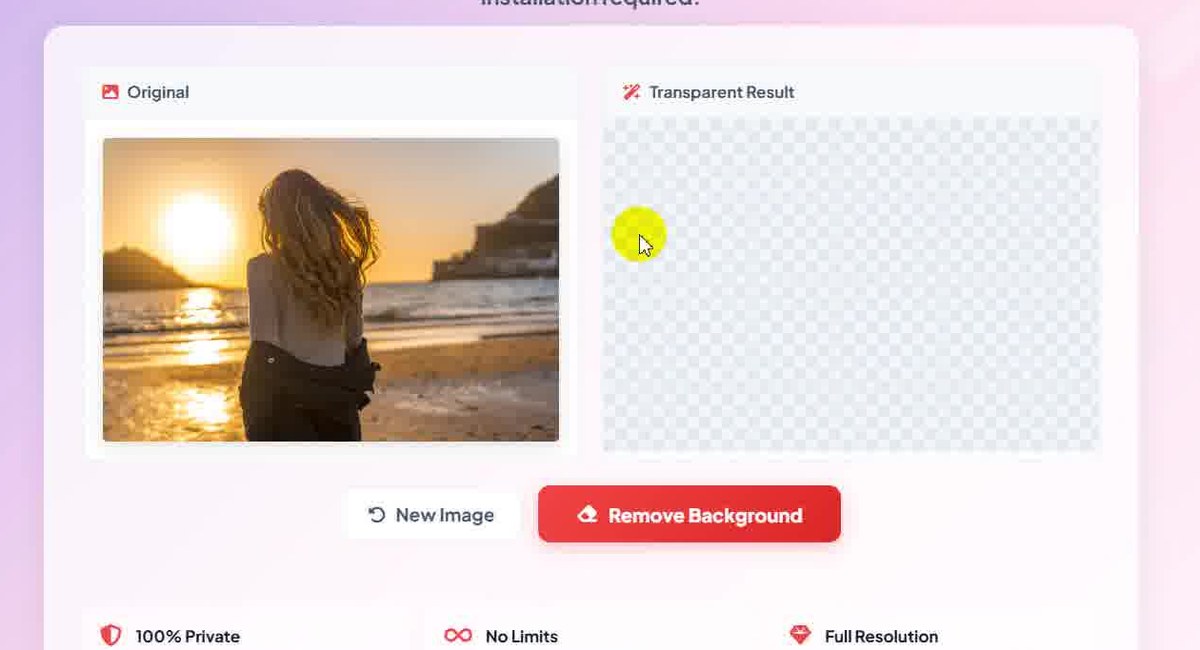
Original on the left, empty result on the right -
Click Remove Background
Press Remove Background. The button changes to Processing… and stays grey until the work is done.
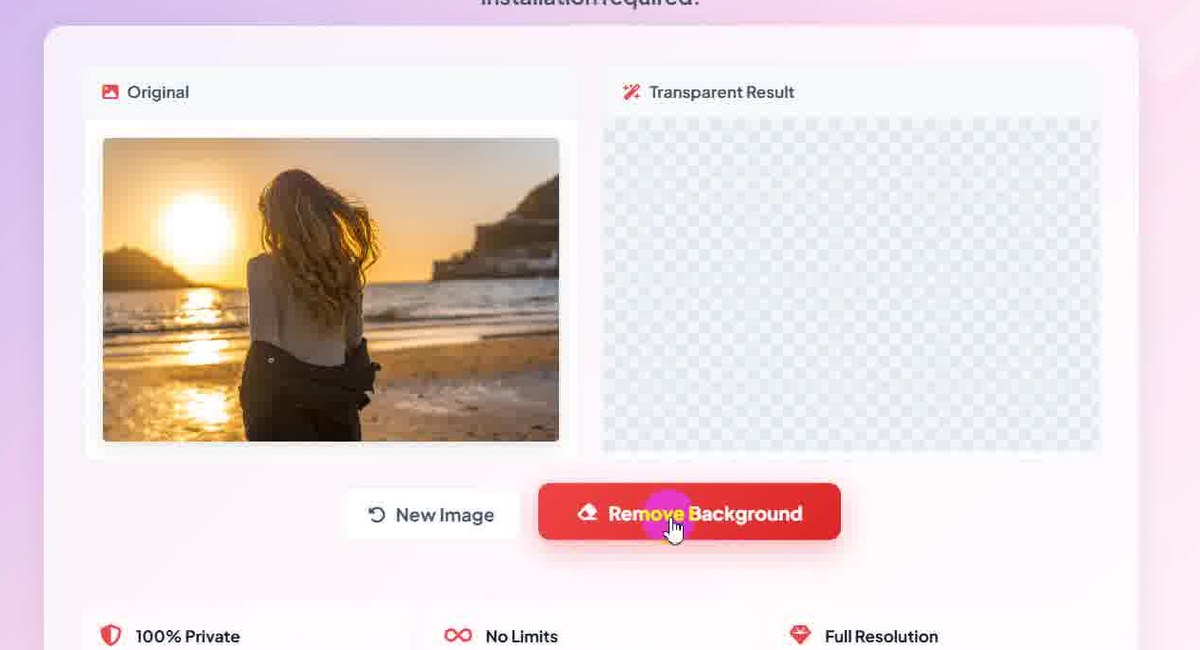
Press the red button -
Wait while it reads the image
The result box shows a progress bar with the message Reading image…. This is the longest part. In our recording it lasted about 33 seconds for a large photo. The time depends on the size of your photo and on your computer, so do not close the tab.
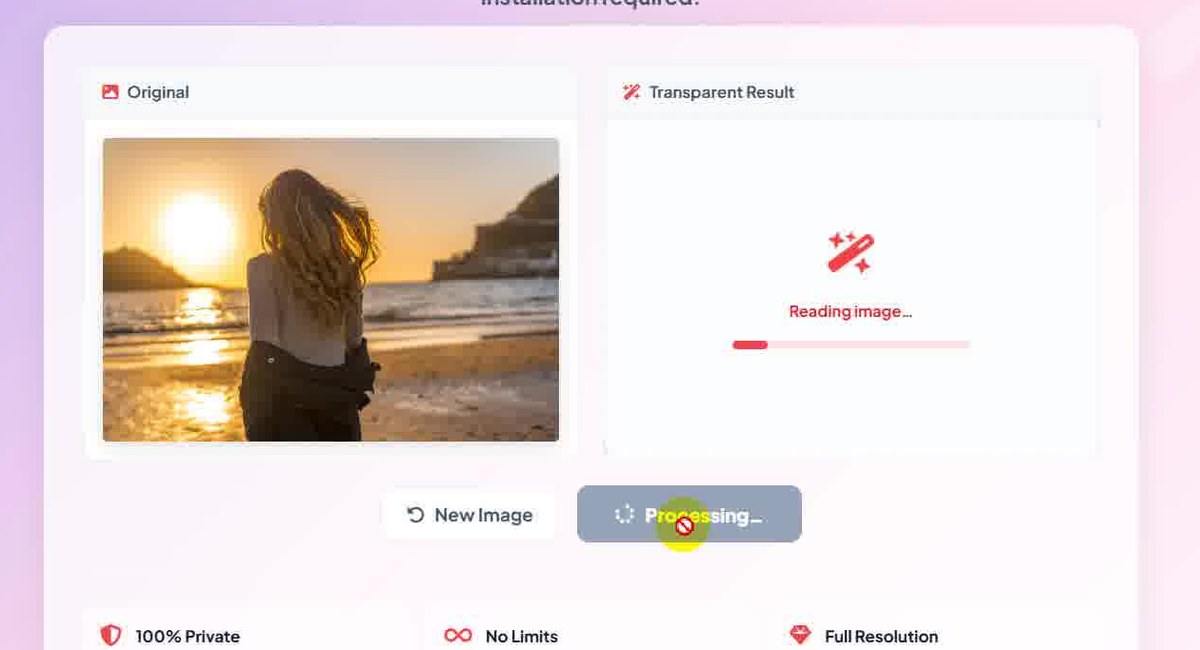
Reading image: about 33 seconds here -
See Applying mask
The message changes to Applying mask…. This step was short, about 4 seconds in our recording, and the whole job took roughly 38 seconds from the click.
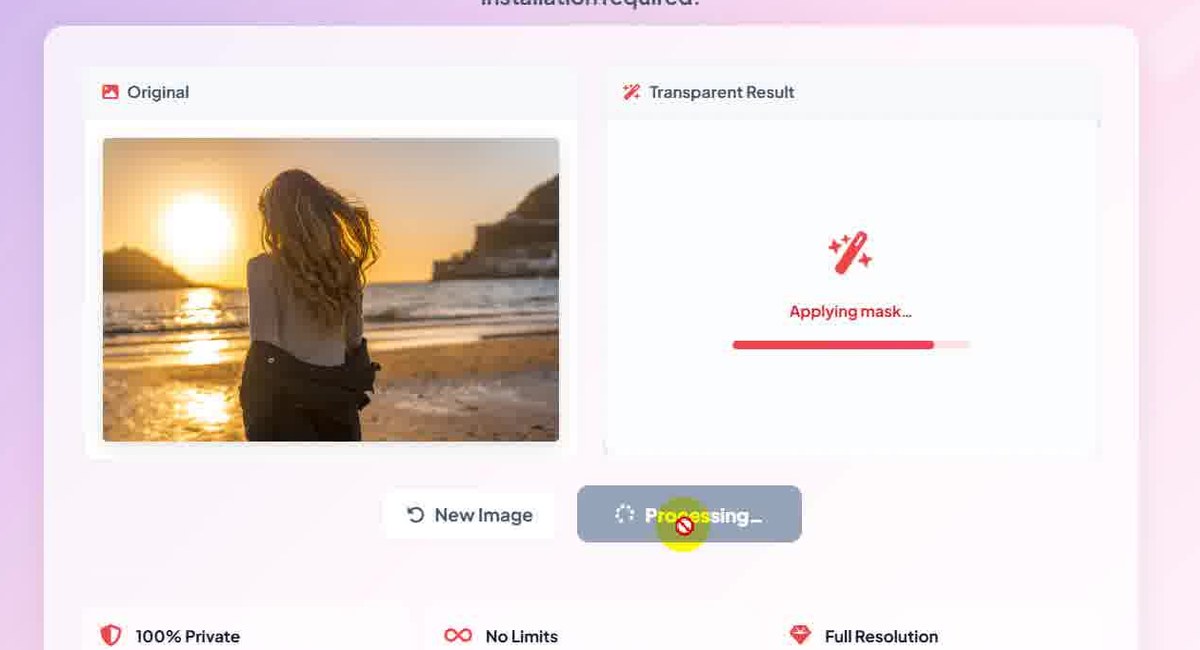
Applying mask: a few seconds -
Look at the transparent result
The cutout appears in the Transparent Result box and the button turns green: Download PNG. The checkerboard pattern behind the woman shows the transparent area. Her hair, including the thin strands, was kept. The lower edge is straight because the photo itself ends there.
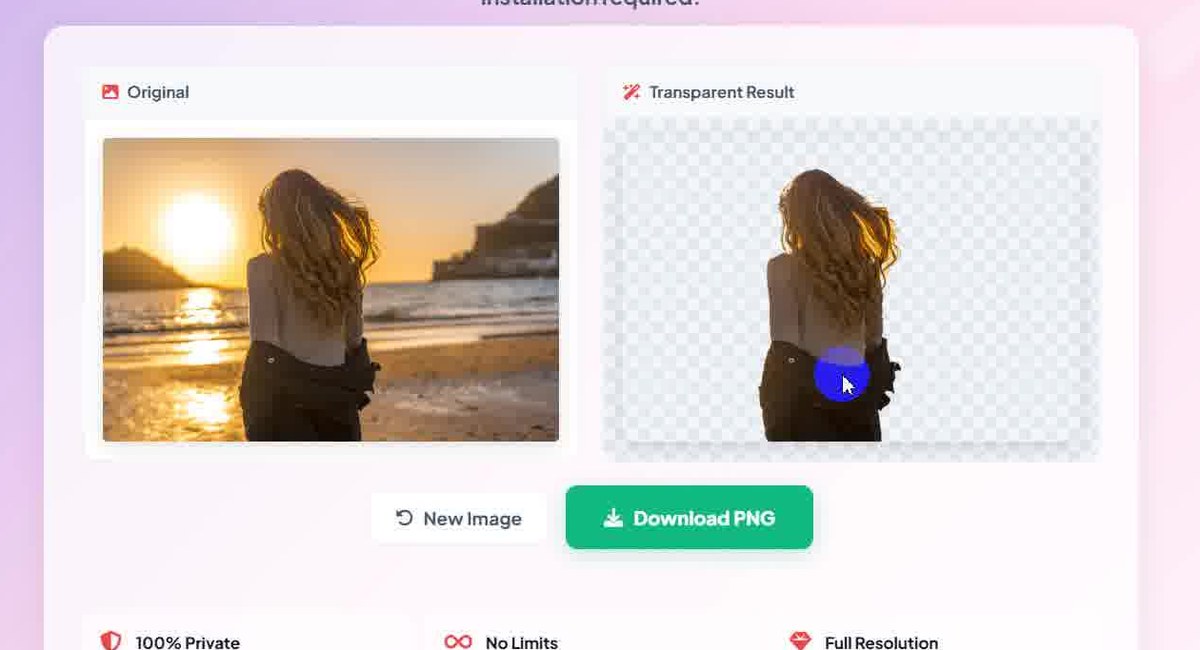
The checkerboard means transparent -
Download the PNG
Click Download PNG. The browser suggests the original name with _no_bg added, here female-getting-off-her-coat-while-walking-toward-sea-sunset_no_bg.png. Choose a folder and press Save.
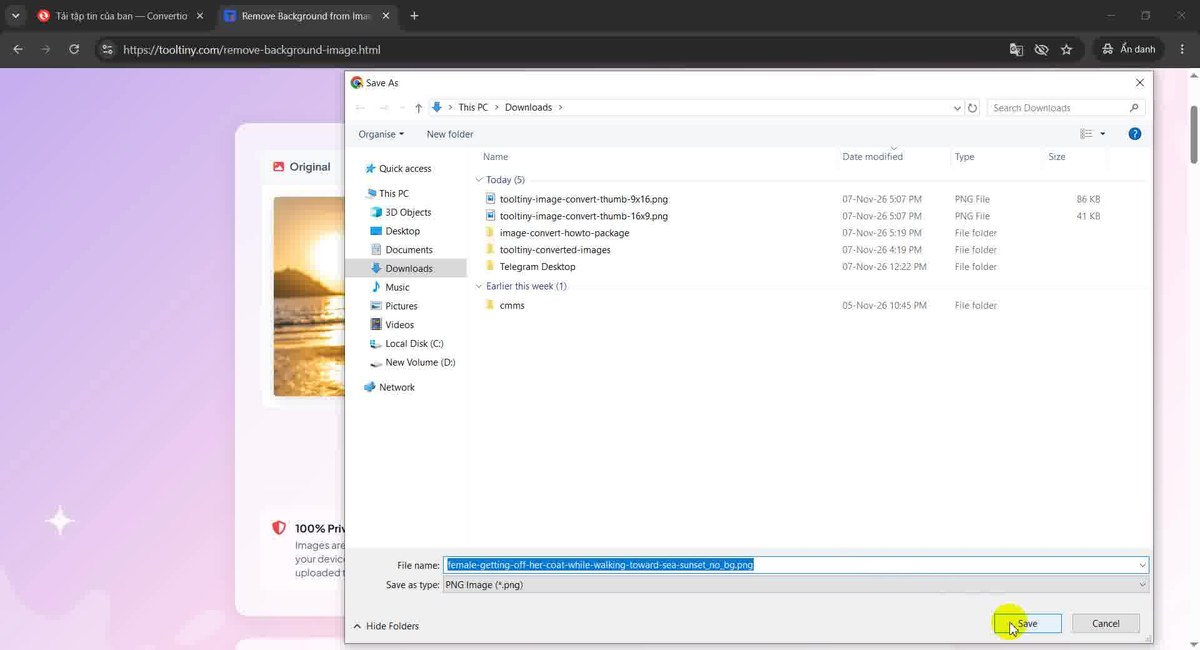
The file name ends with _no_bg.png -
Check the download
The browser's download list shows the finished file. Our cutout was 12.7 MB, because the page keeps the full resolution of the photo and PNG is lossless. See the tips below if you need a smaller file.
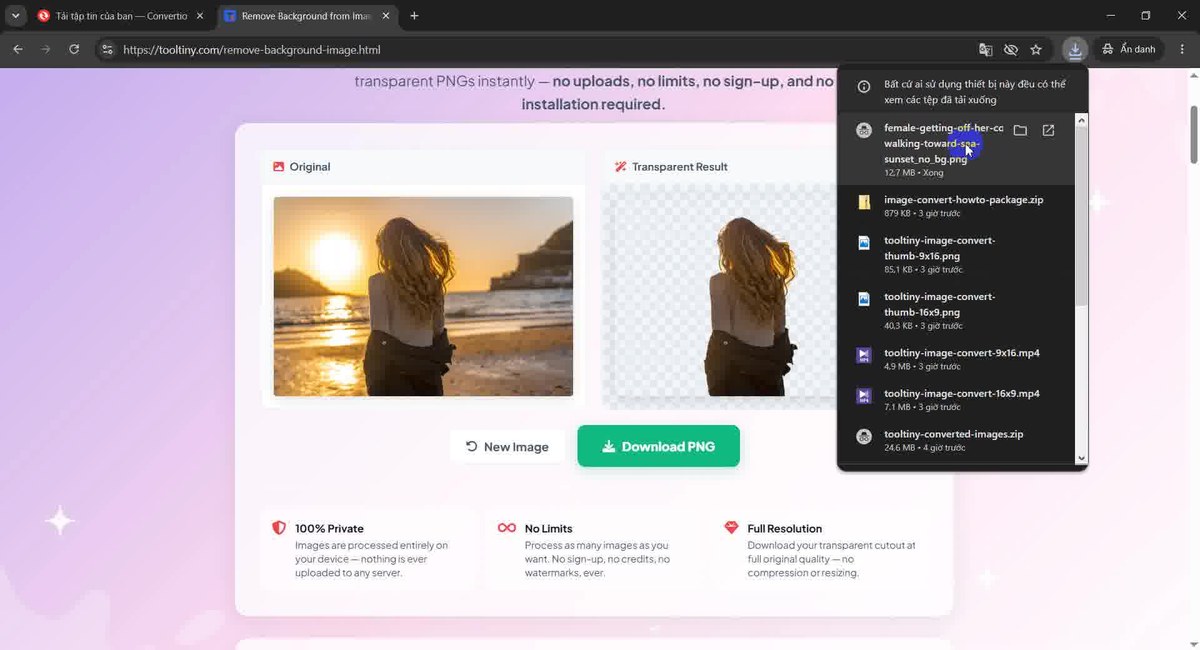
12.7 MB for a full-size PNG -
Open the file
Open the PNG in any image viewer or editor. In our recording the Windows Photos app showed the woman alone, without the beach and the sky. You can place the file on a new background in an editor or a presentation.
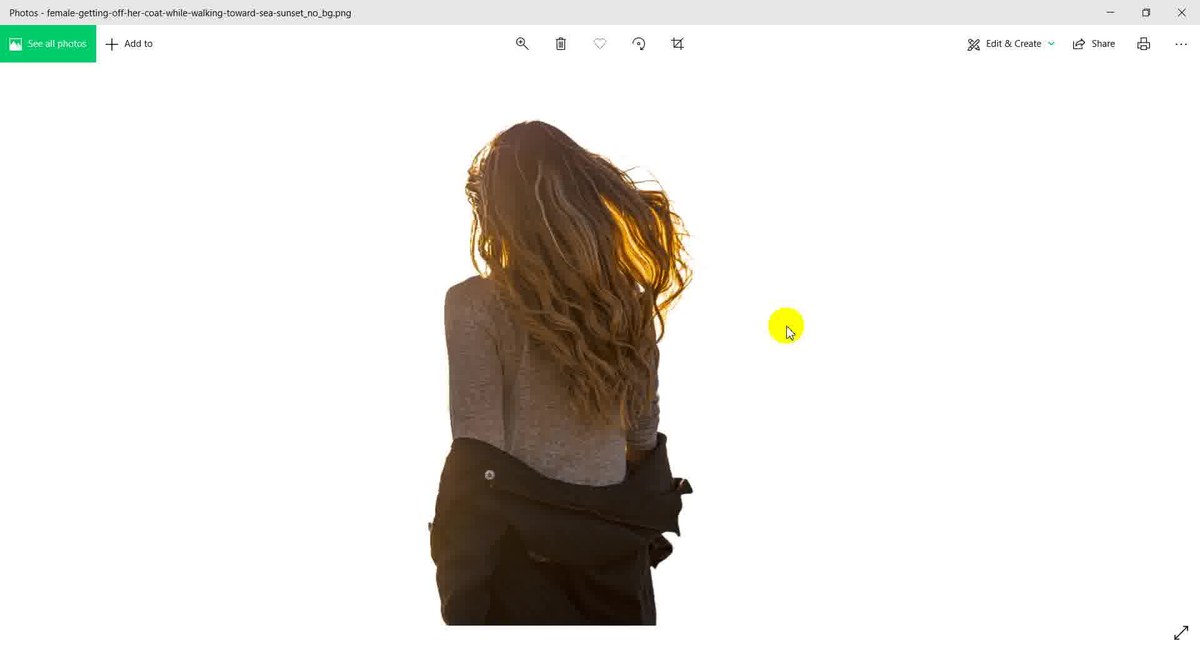
The cutout in an image viewer
Getting a Good Cutout
The tool finds the main subject and removes the rest, so the result depends on the picture you give it. Our test photo had a clear person against a different background, and the cutout kept the outline and the thin strands of hair. Pictures like this work best:
- A clear main subject such as a person, an animal, a product or an object.
- Good contrast between the subject and what is behind it.
- Good light on the subject, without heavy shadows across its edges.
If the subject and the background have almost the same colour, or the background is very busy, parts of the edge can be cut wrongly. Look at the result in the Transparent Result box before you download, and try another photo if it does not look right.
Good to Know
- Input and output. You can upload JPG, JPEG, PNG and WebP. The result is always a PNG, which is the format that keeps transparency.
- One image at a time. Press New Image to start with the next photo.
- The first visit takes longer. The tool needs its processing files, which the loading bar shows. Wait until it reads 100%.
- Waiting is normal. A large photo took about 38 seconds in our recording. Keep the tab open until the green Download PNG button appears.
- Full resolution. The PNG keeps the size of your photo, so it can be big. Ours was 12.7 MB.
- Free: no sign-up, no watermark, no credits.
- Commercial use. The tool is based on the RMBG-1.4 model from BRIA AI, which has its own licence terms. Check them before you use results commercially.
Tips for Better Results
- Start with a sharp, well-lit photo. A blurry picture gives a blurry edge.
- Crop first if the subject is small. Use Image Crop & Resize to remove empty space, which also makes the file smaller.
- Shrink a heavy PNG. Put the result into the Image Compressor; a PNG leaves it as WebP and keeps the transparent areas.
- Need a JPG with a white background? Convert the PNG with the Image Converter: transparent areas become white in a JPG.
- Keep your original. The tool gives you a new file and does not change the photo. More guides are on our blog.
Upload a photo and download a transparent PNG. Free, no sign-up.